
Adding your company logo in CleanGuru puts your branding on every bid, invoice, ticket and inspection you send. You upload it once from Settings and CleanGuru applies it automatically.

Upload Your Logo

1

Open Settings

Click the gear icon in the top-right corner of CleanGuru and select Settings.
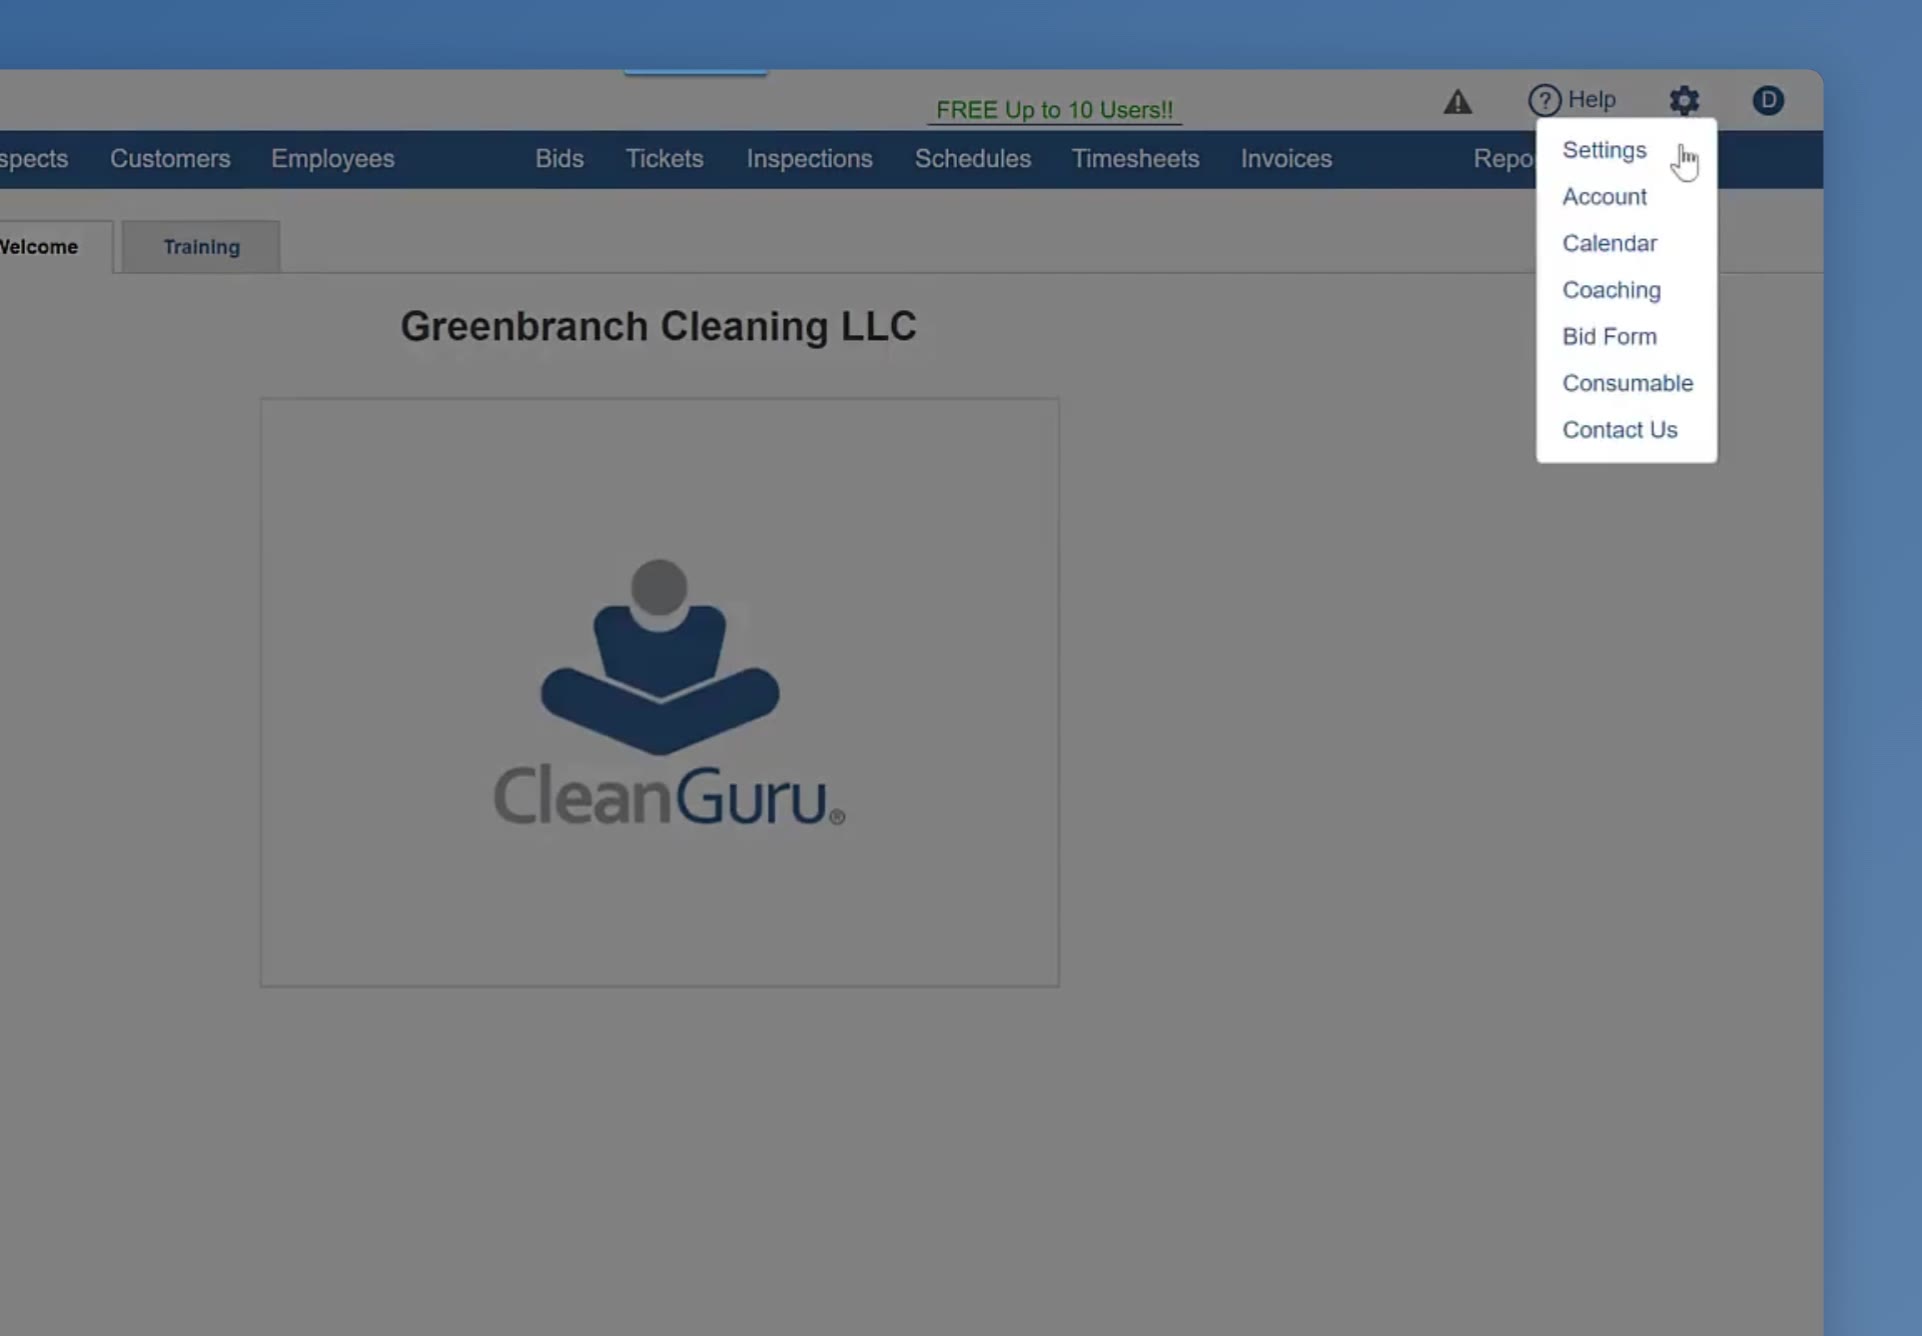
Gear menu open at the top right with Settings at the top of the list
The gear menu at the top right of the CleanGuru header, with Settings at the top of the list.
2

Open Company settings

On the Settings panel, click Company.
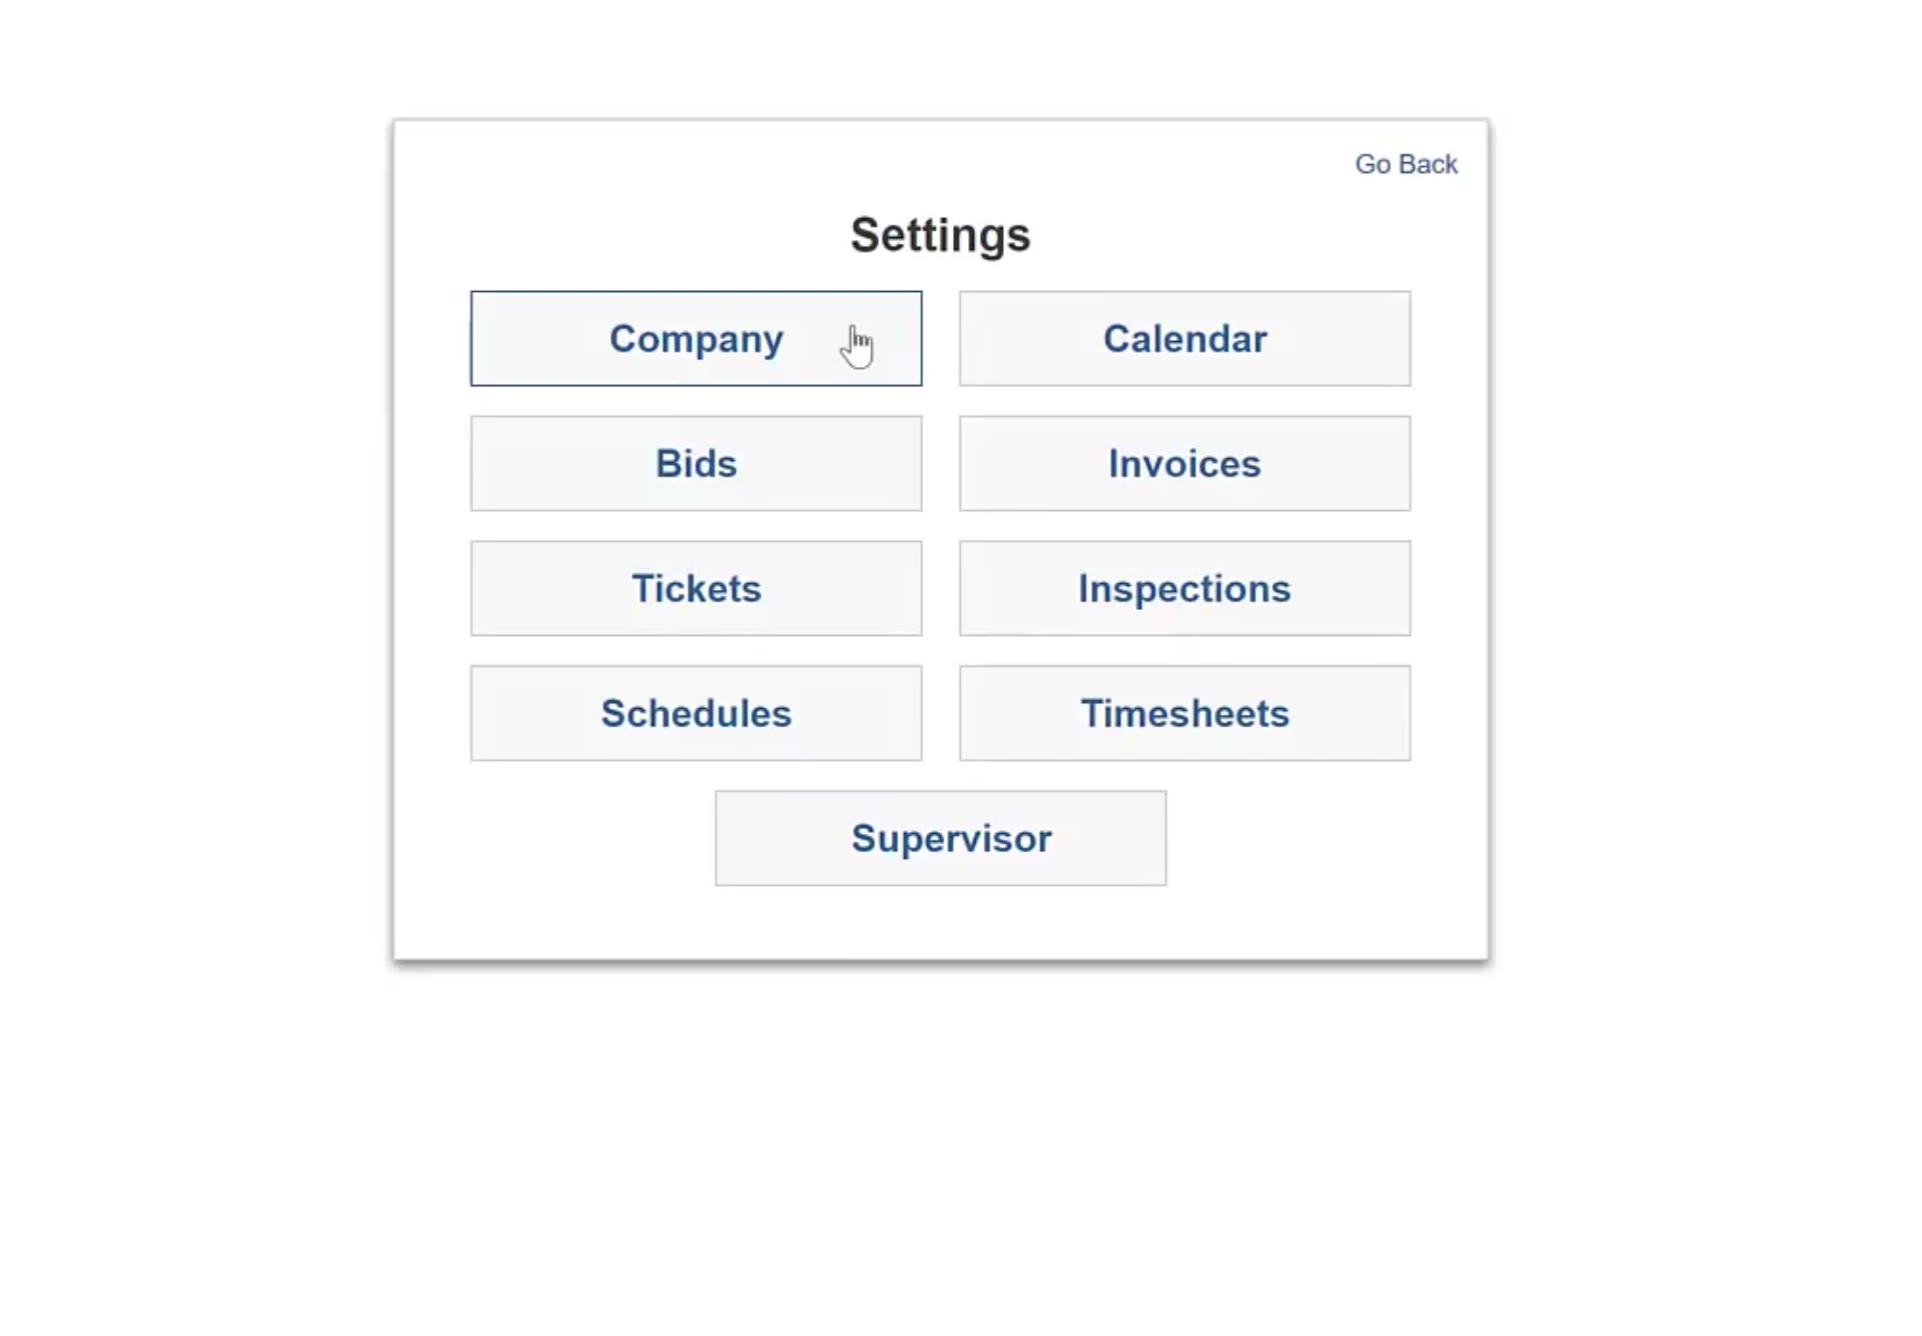
Settings panel with the pointer on the Company button
The Settings panel lists Company alongside the other settings areas.
3

Browse for your logo

In the Company dialog, click the green Browse… button beside Logo at the bottom of the form.
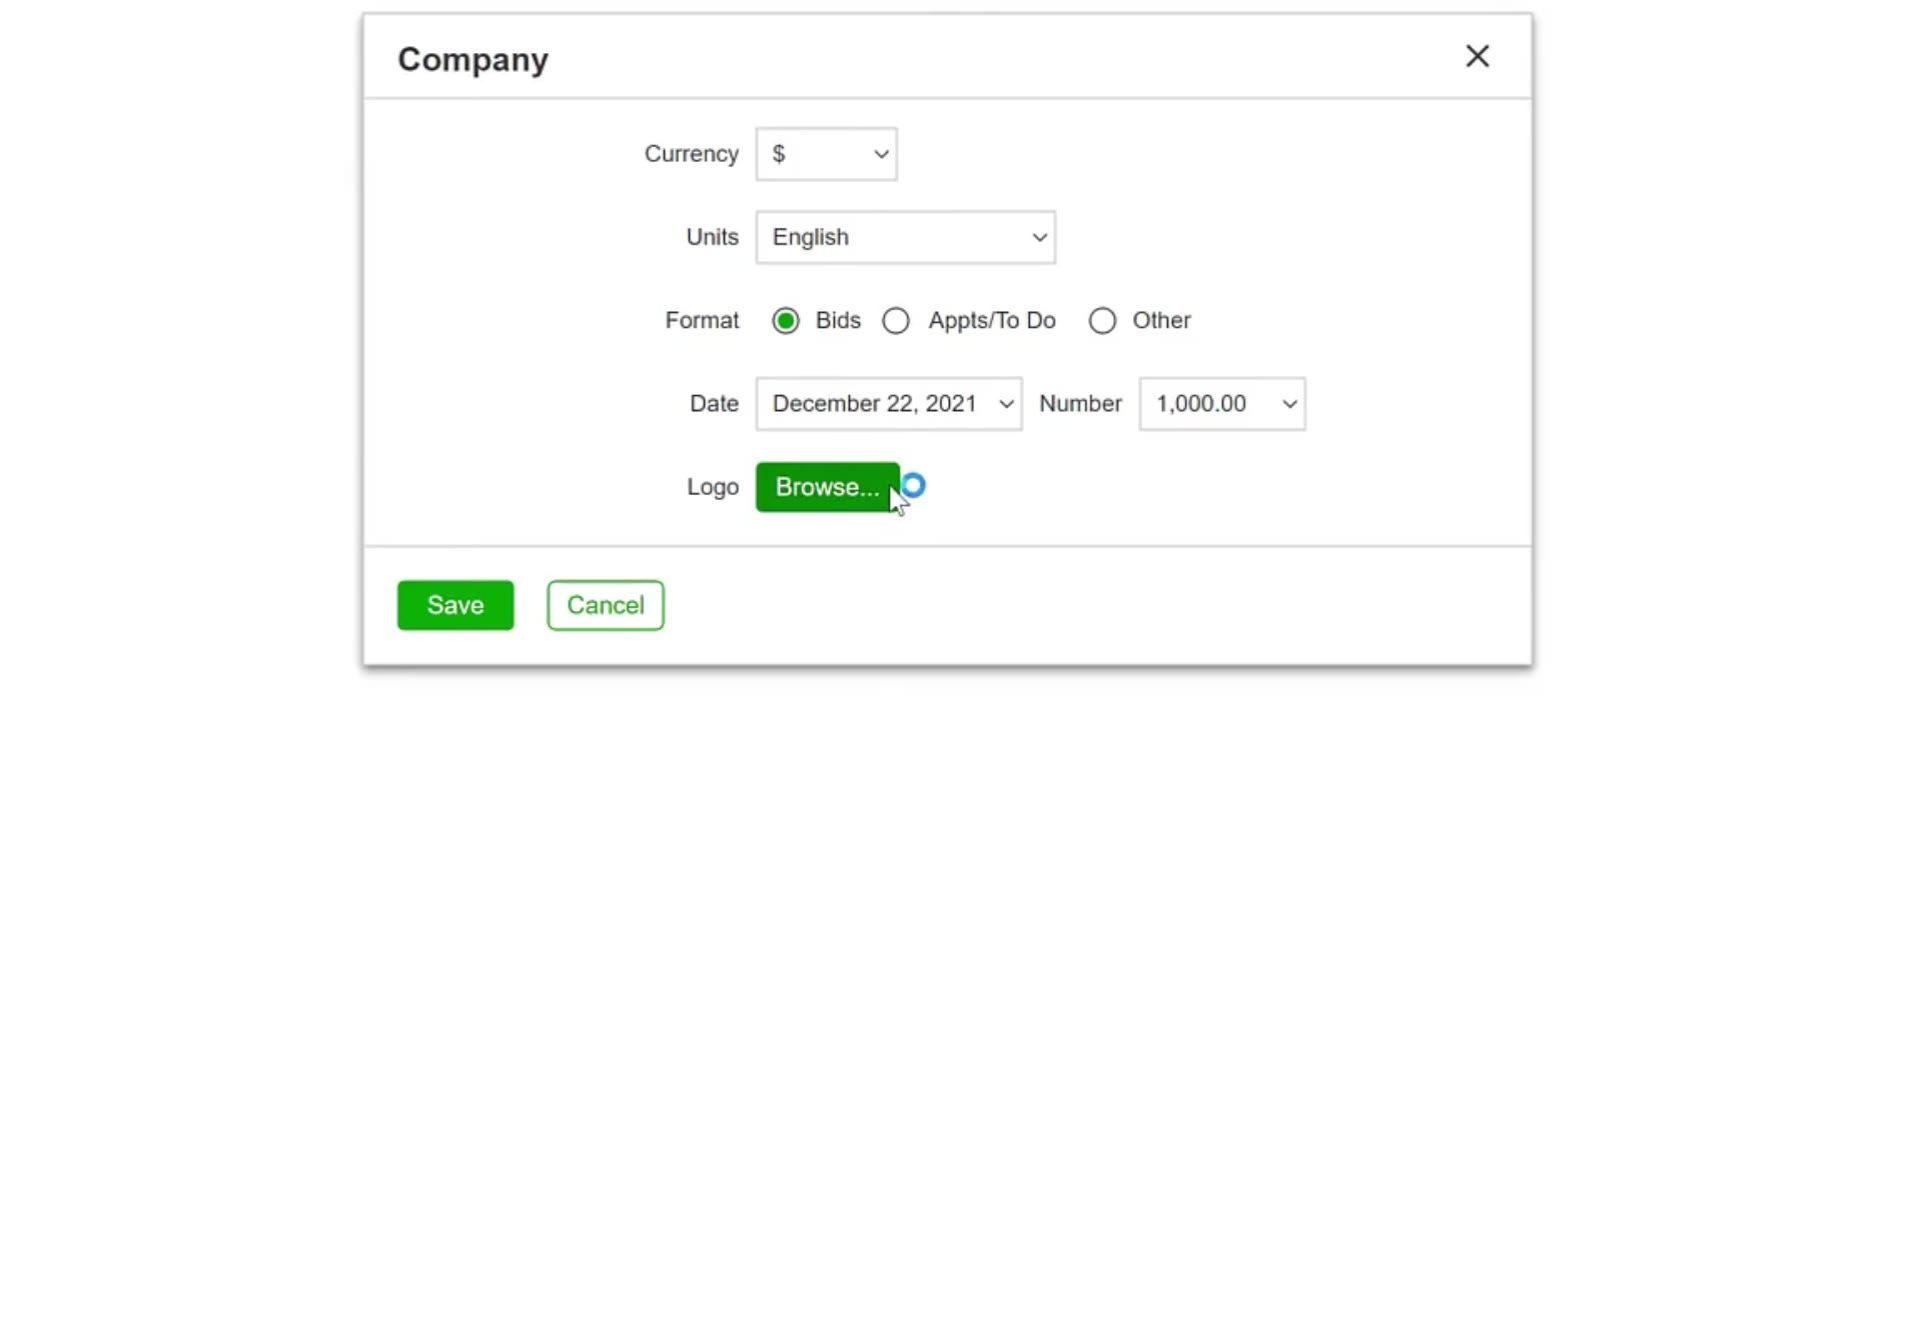
Company dialog with currency, units, format and date settings above the Logo row and its green Browse button
The Logo row and its green Browse… button sit at the bottom of the Company dialog.
4

Choose the file

Select your logo file and click Open. Crop out any excess white space around the image first so it displays correctly on your proposals.
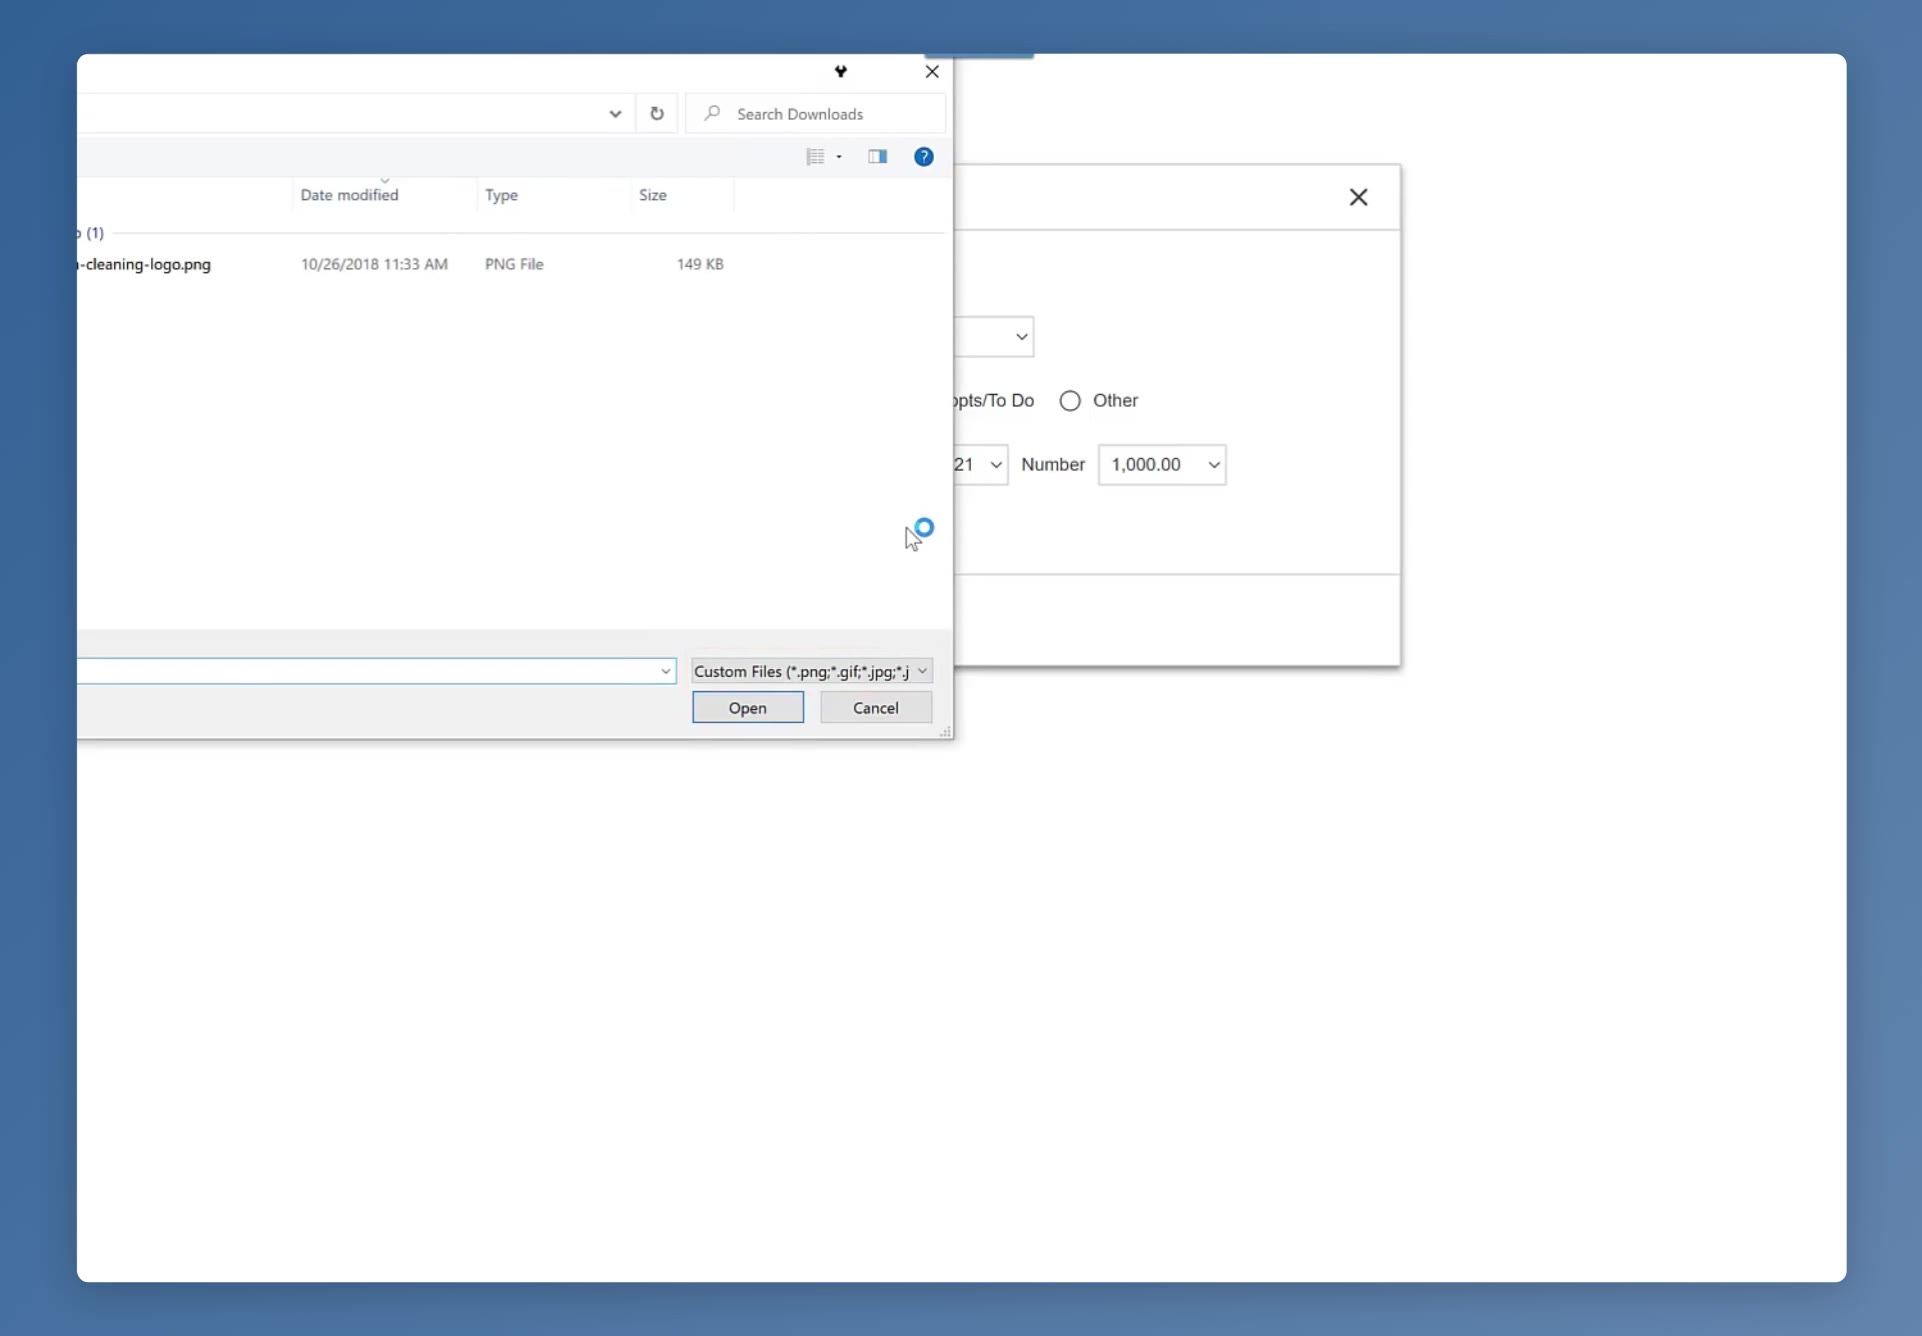
Windows file picker filtered to PNG, GIF and JPG files, with a logo PNG listed
The file picker is filtered to Custom Files (*.png; *.gif; *.jpg) — the logo formats CleanGuru accepts.
5

Check the preview

The logo appears inside the Company dialog above the Logo row. Confirm it is the right image before saving.
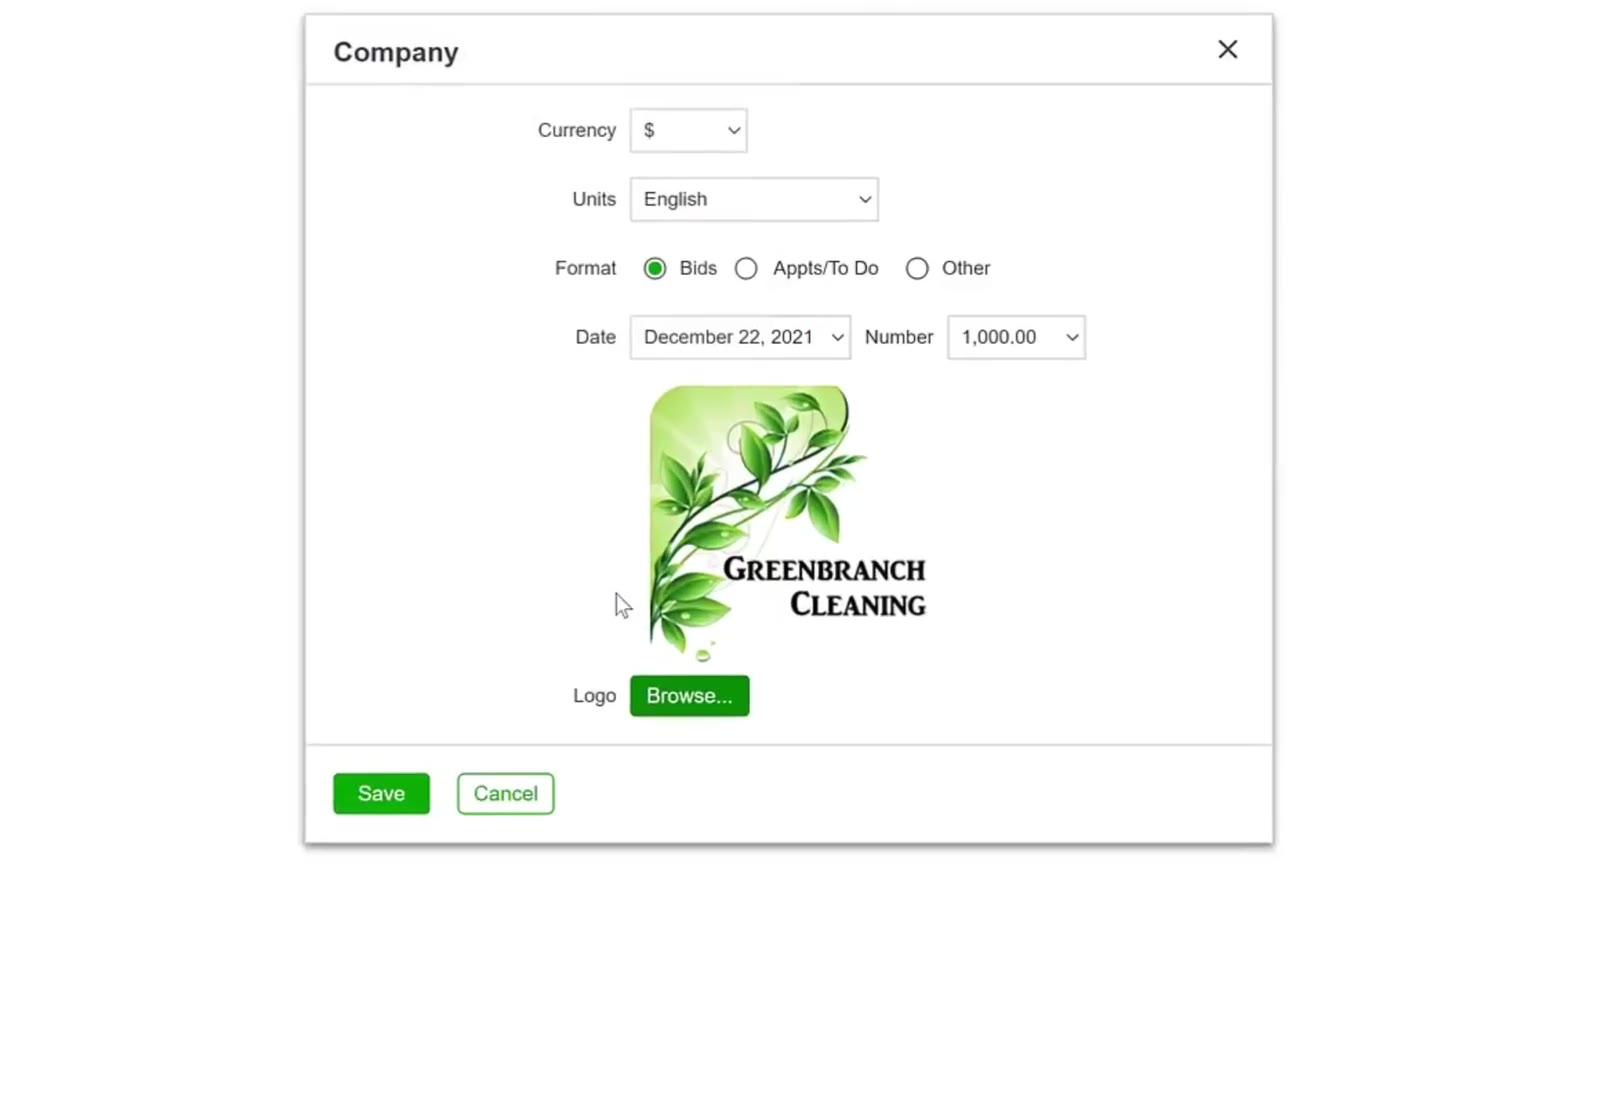
Company dialog showing the uploaded Greenbranch Cleaning logo above the Browse button
Review the logo preview in the Company dialog to ensure the correct image has been uploaded.
6

Save the logo

Click the green Save button at the bottom left of the dialog. A red Saved confirmation appears at the top of the dialog.
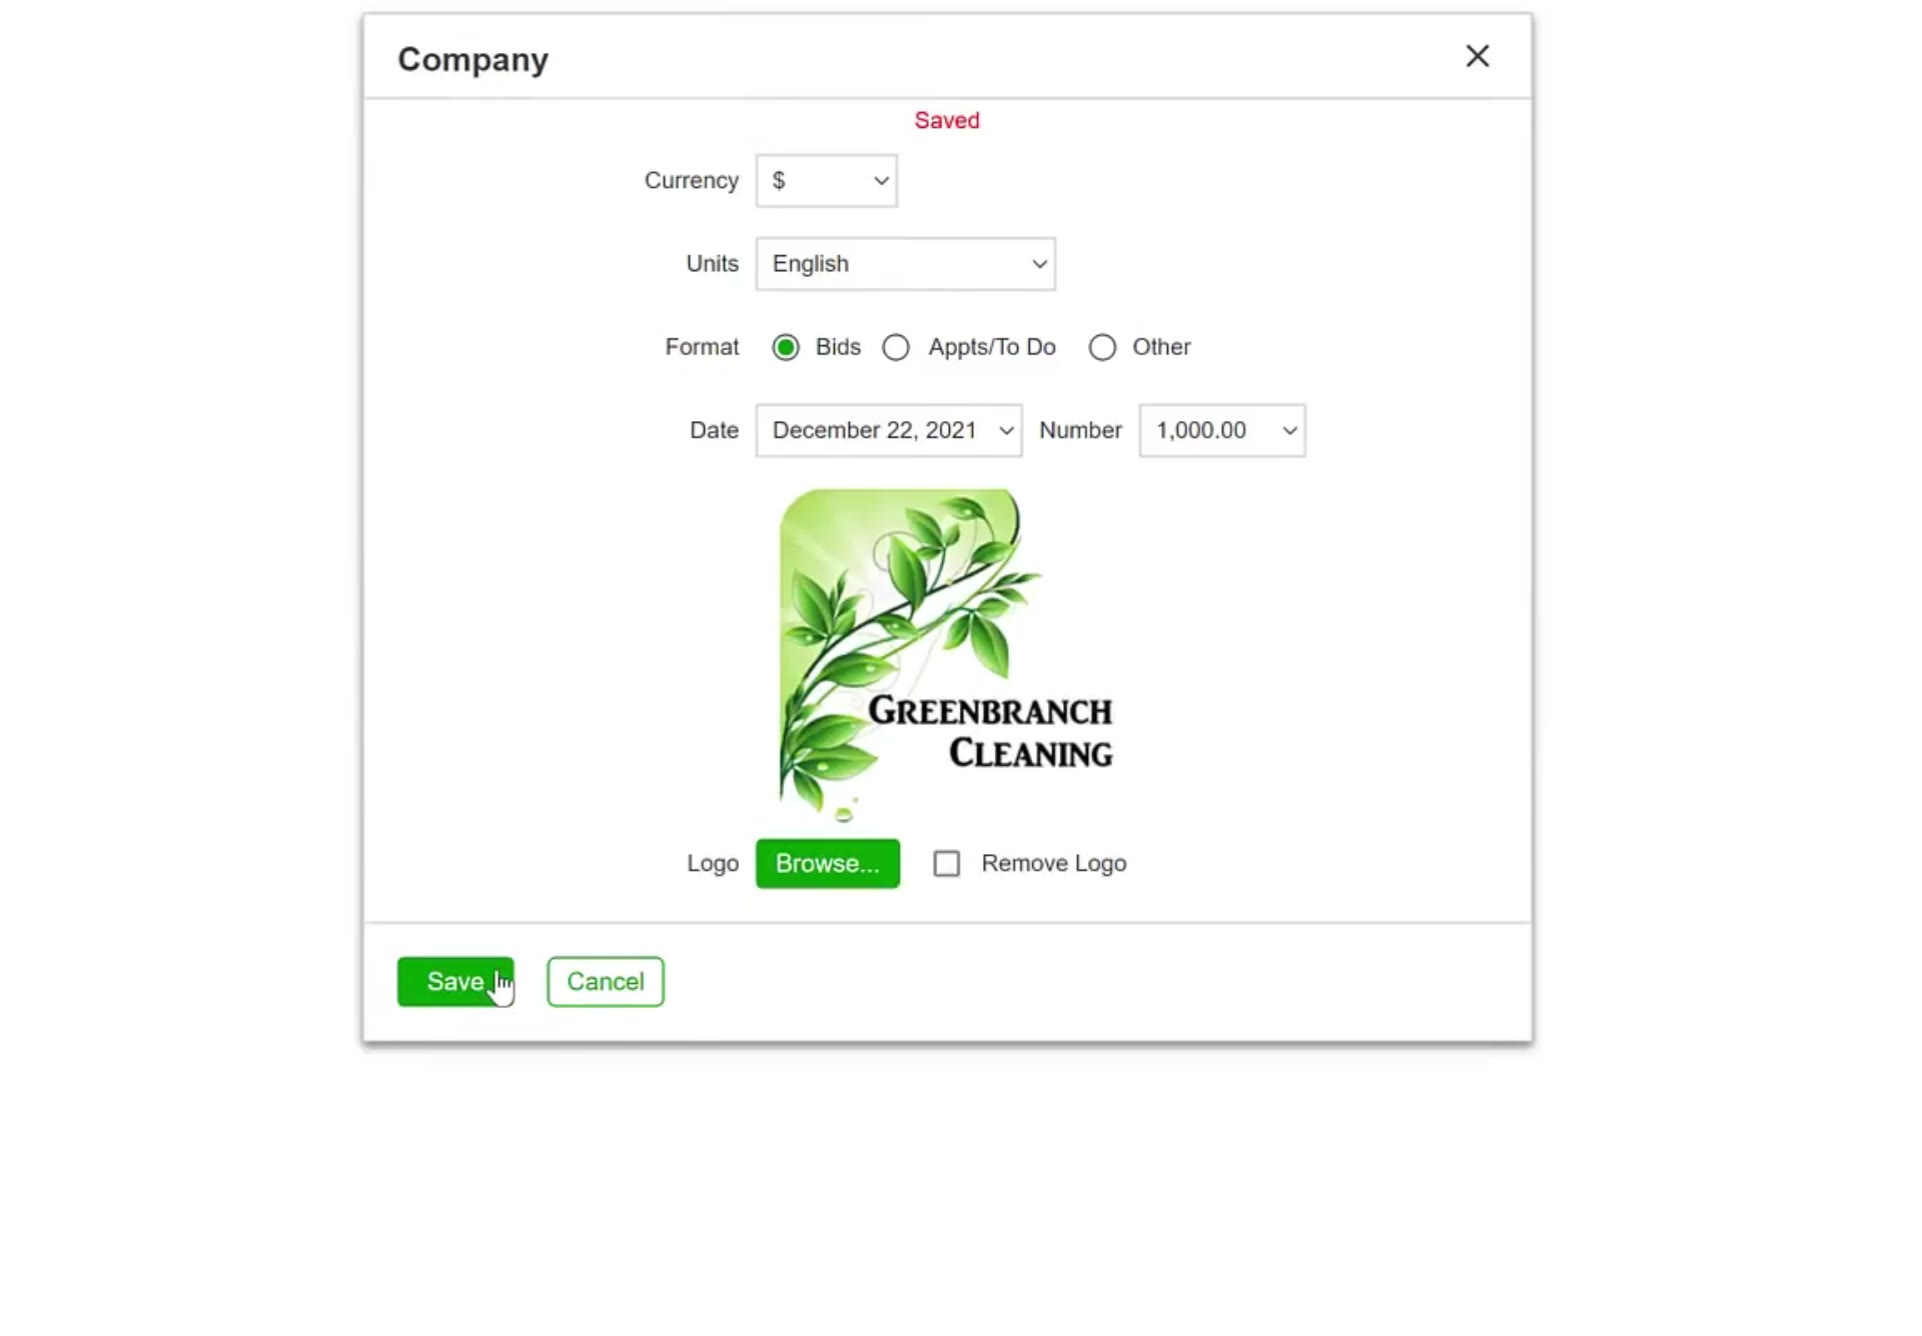
Company dialog with Saved shown in red at the top and a Remove Logo checkbox beside Browse
Click Save to finalize your logo upload; a ‘Saved’ confirmation will appear at the top of the dialog.

Managing and Removing Your Logo

7

Replace or remove the logo later

Return to Settings → Company, tick the Remove Logo checkbox beside Browse…, and click Save. To use a different logo, browse to the new file and save again.
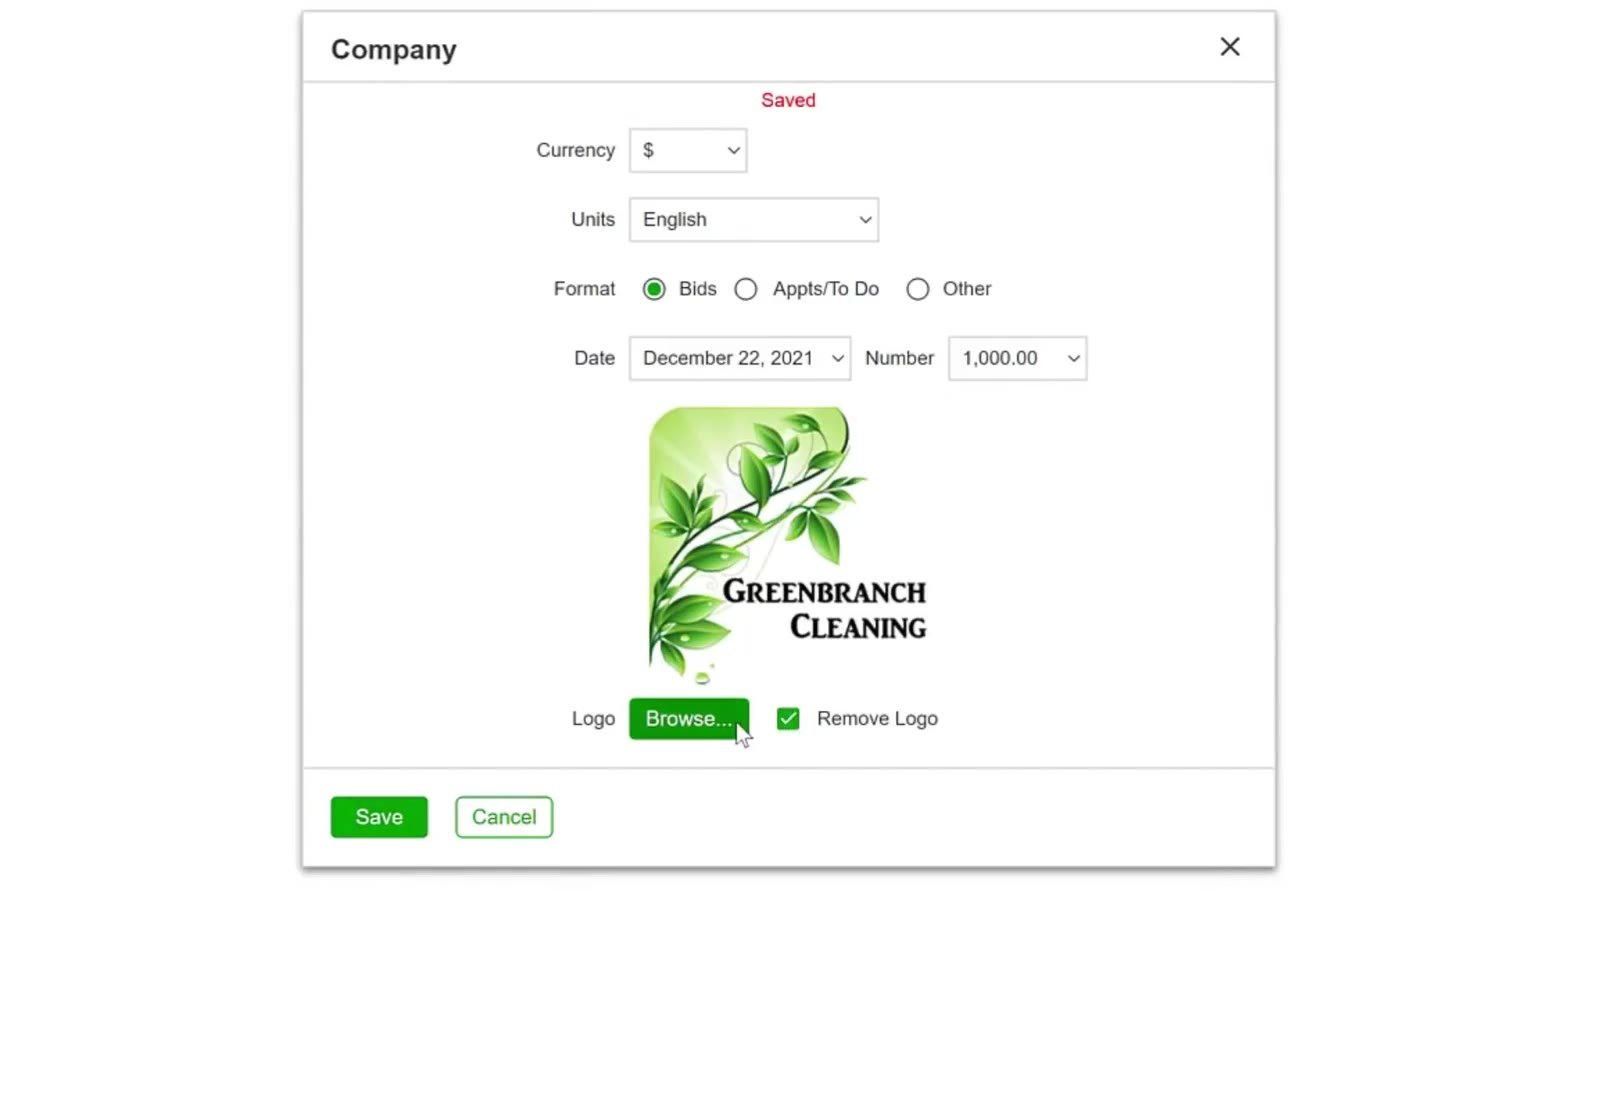

Company dialog with the Remove Logo box ticked, ready to save
To delete your current branding, select the Remove Logo checkbox and click Save to update your profile.

FAQ

CleanGuru supports GIF, JPEG and PNG files.
On your bids, invoices, tickets and inspections. CleanGuru applies it automatically.
Yes. Crop out any excess white space around the logo so that it displays correctly on your proposals.
A red Saved confirmation appears at the top of the Company dialog, and the logo itself is shown above the Logo row.
Go back to Settings and click Company. Tick the Remove Logo checkbox beside Browse… and click Save to remove it, or browse to a new file and click Save to replace it.