Inspecting Help article
Create Scheduled Inspection
An inspection template lets CleanGuru create your inspections for you on a set schedule. This shows you how to build a template from a bid, choose what gets inspected in each area, and set how often the inspections happen.
Set Up the Template
Open the Templates list
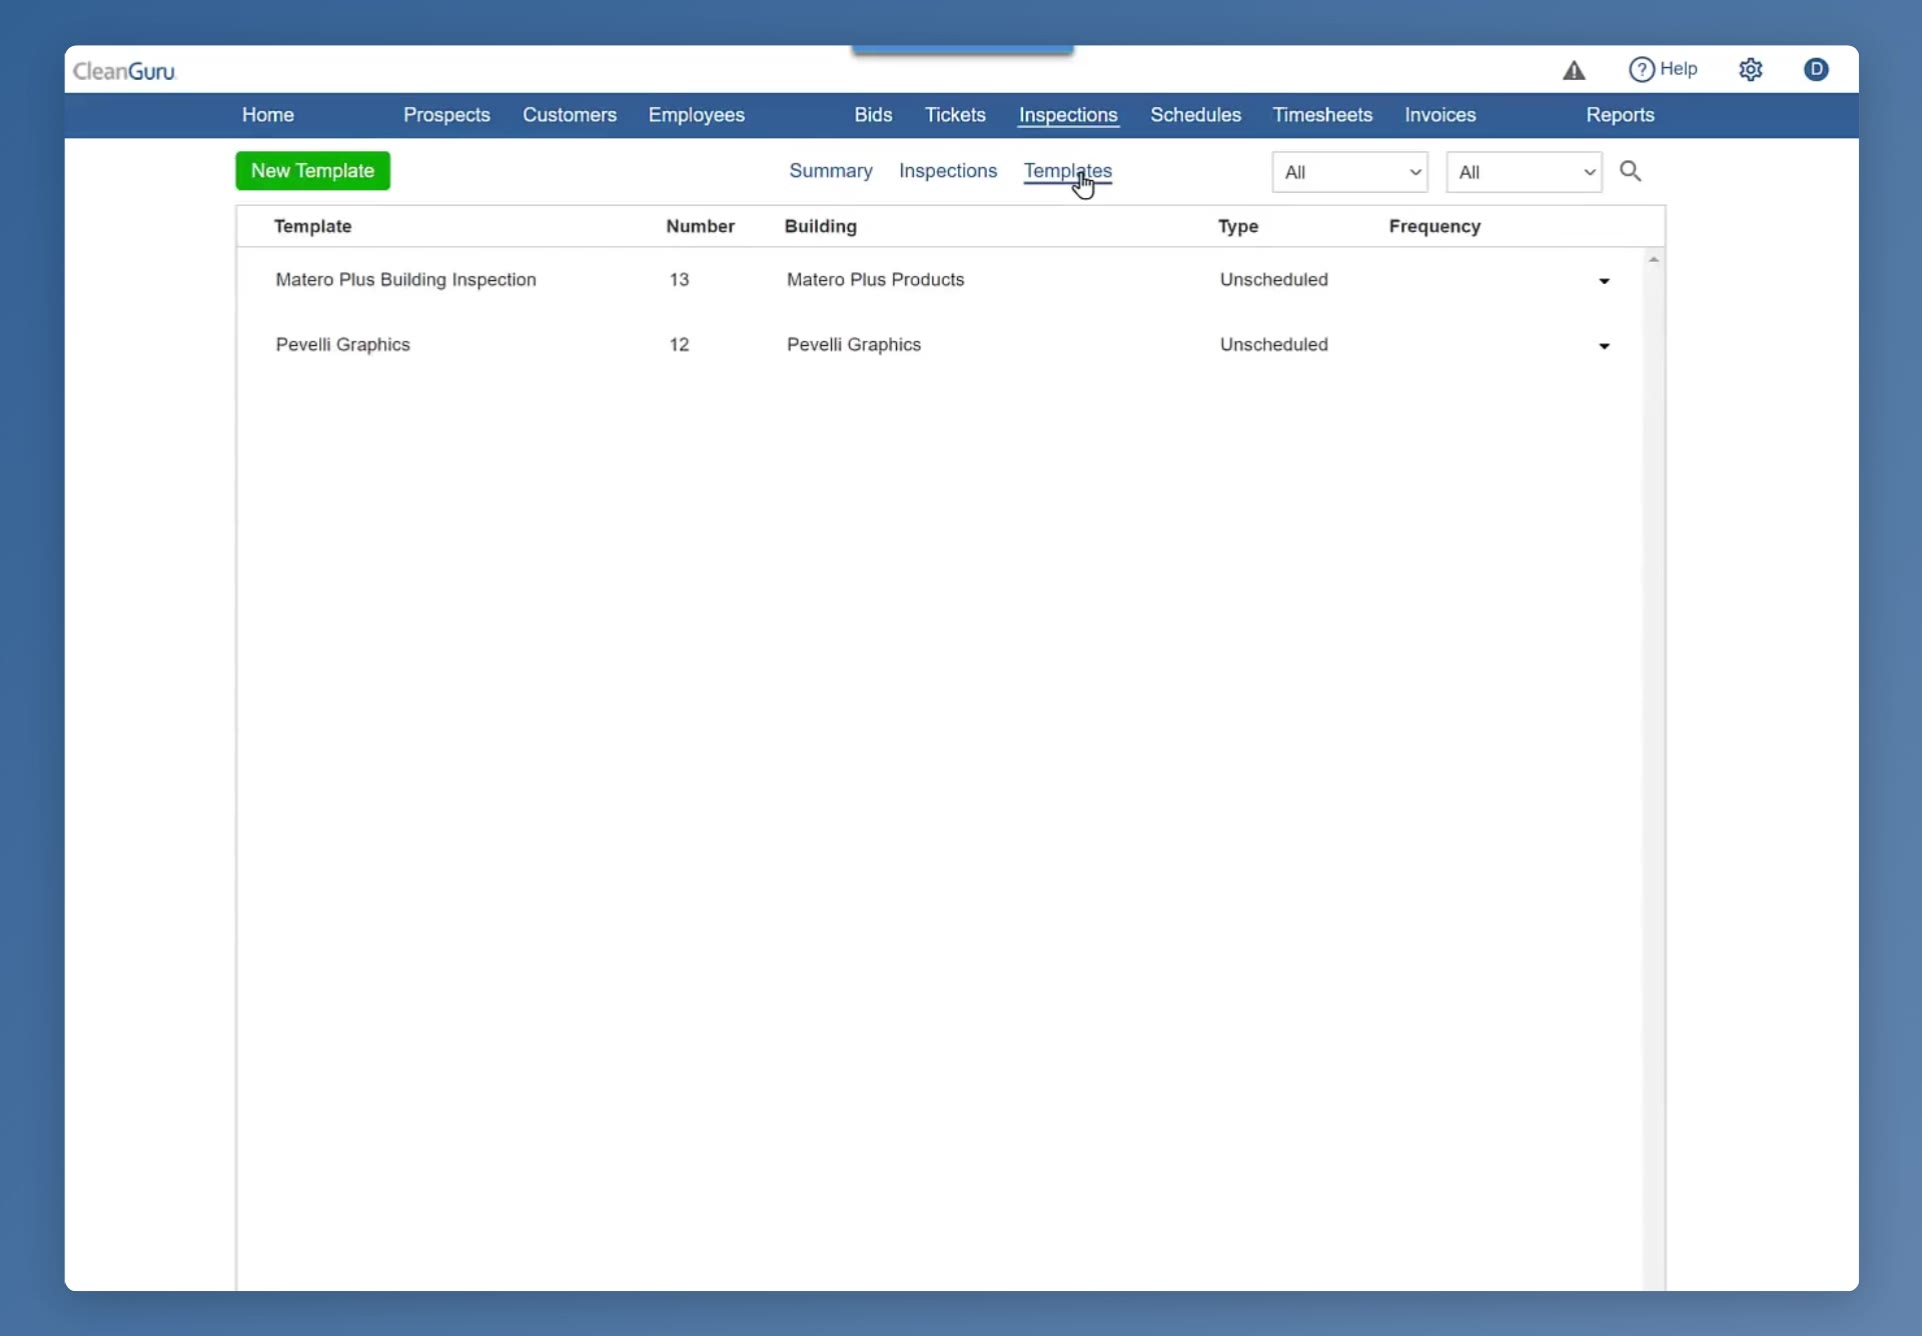
Click Inspections in the top menu, then click the Templates tab underneath it. The list shows each template with its number, the building it covers, its type and its frequency. The Building column names the building, with the customer in parentheses after it when the two differ.
Start a new template
Click the green New Template button. In the Create Template box, pick who the template is for — the list is sorted by customer, with that customer’s buildings underneath each one. Then pick a Source: Bid brings across the areas from a bid you have already done, along with the things commonly checked in each of those areas.
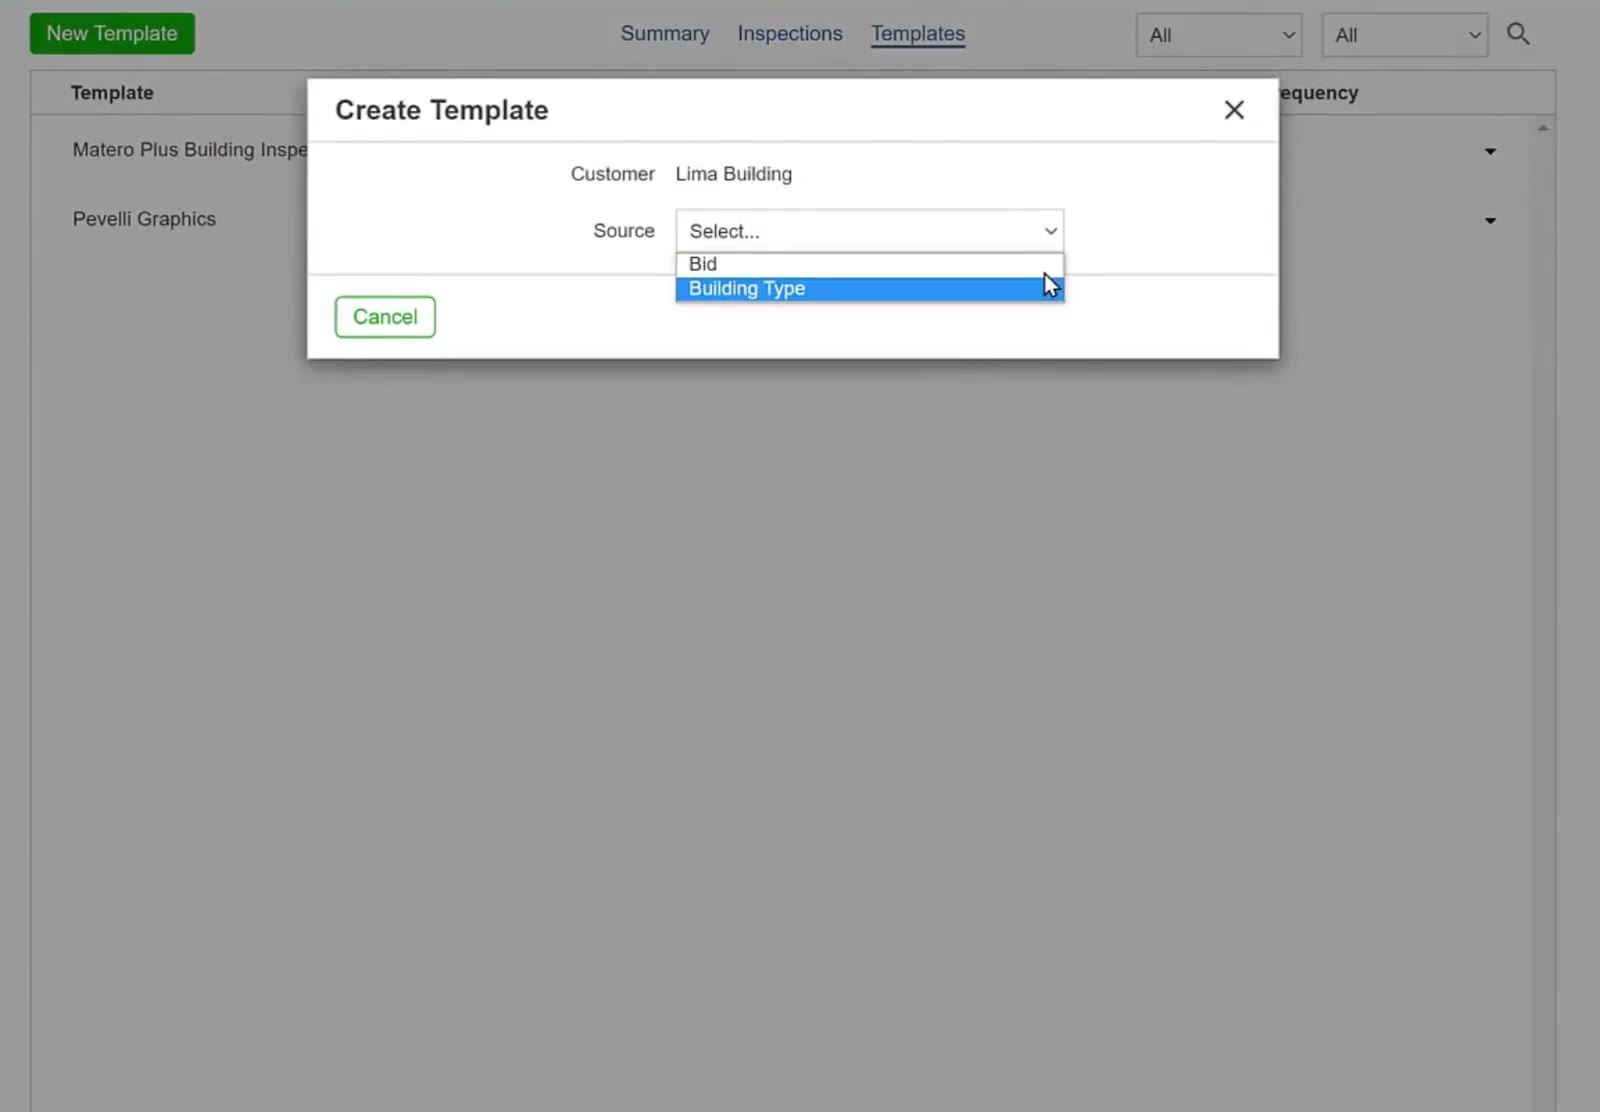
If you have not bid the location yet, choose Building Type as the source instead of Bid.
Pick the bid and name the template
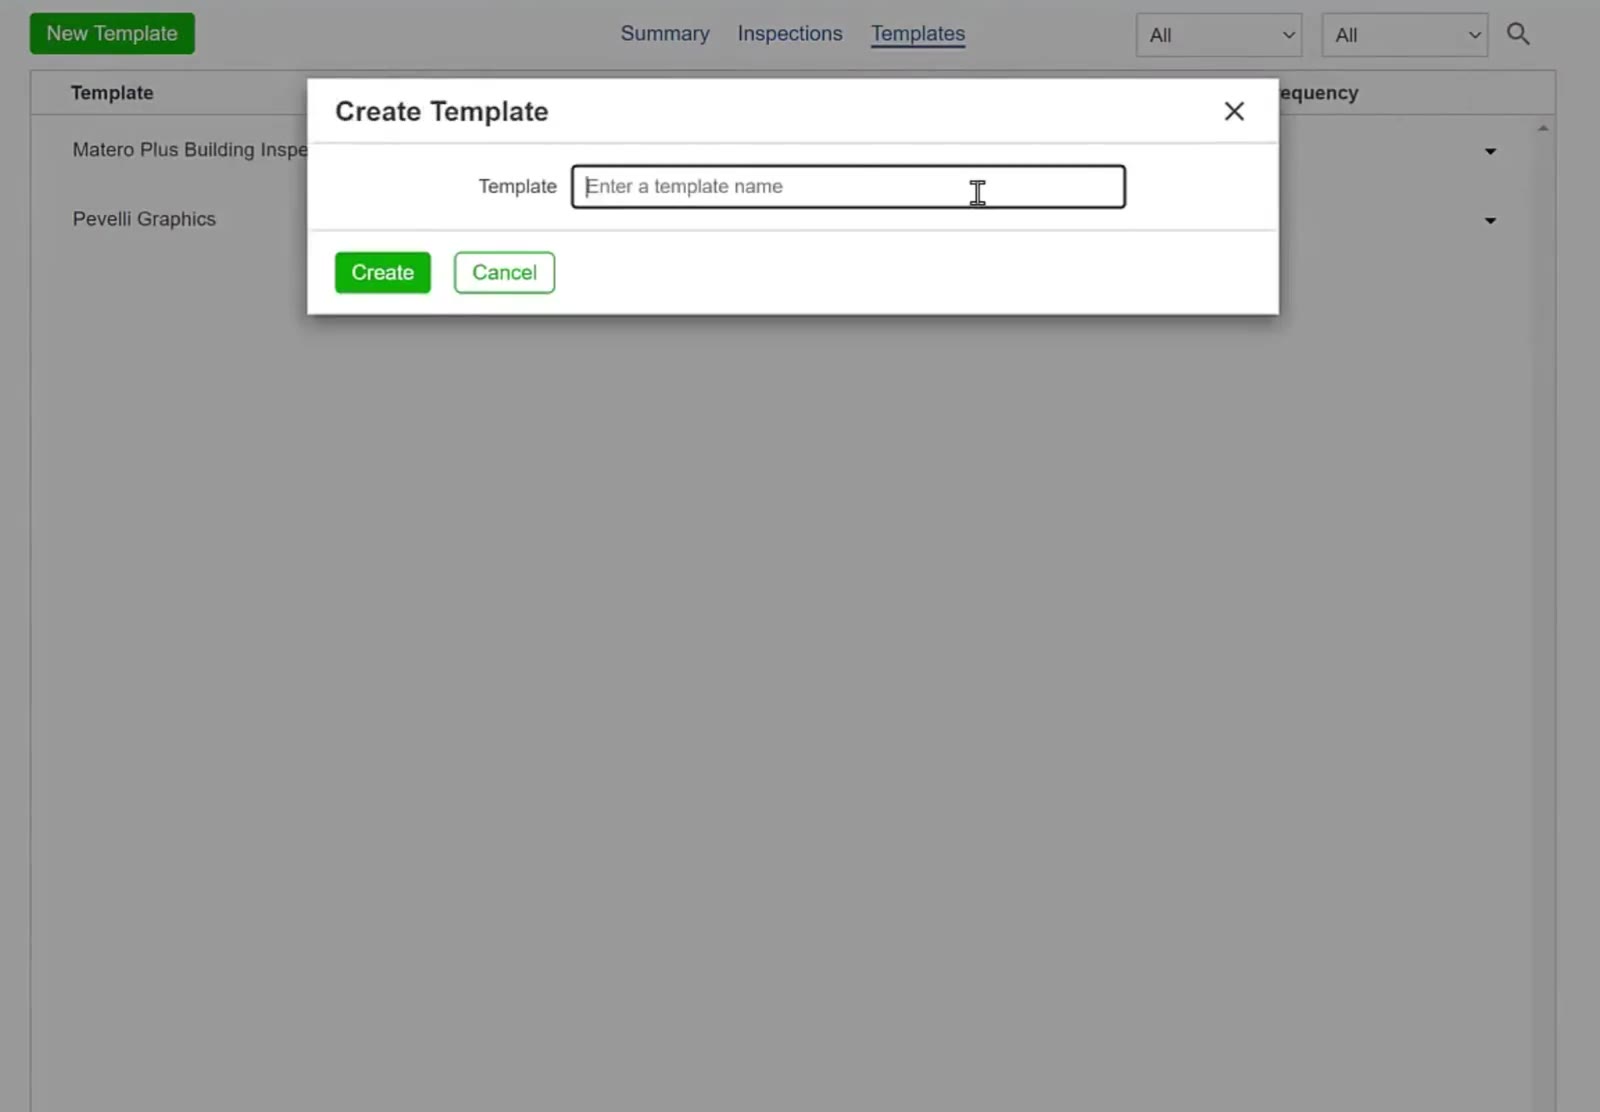
Choose the bid you want to build from. CleanGuru then asks for a name in the Template box — type something you will recognise later and click Create.
Choose What Gets Inspected
Look through the areas
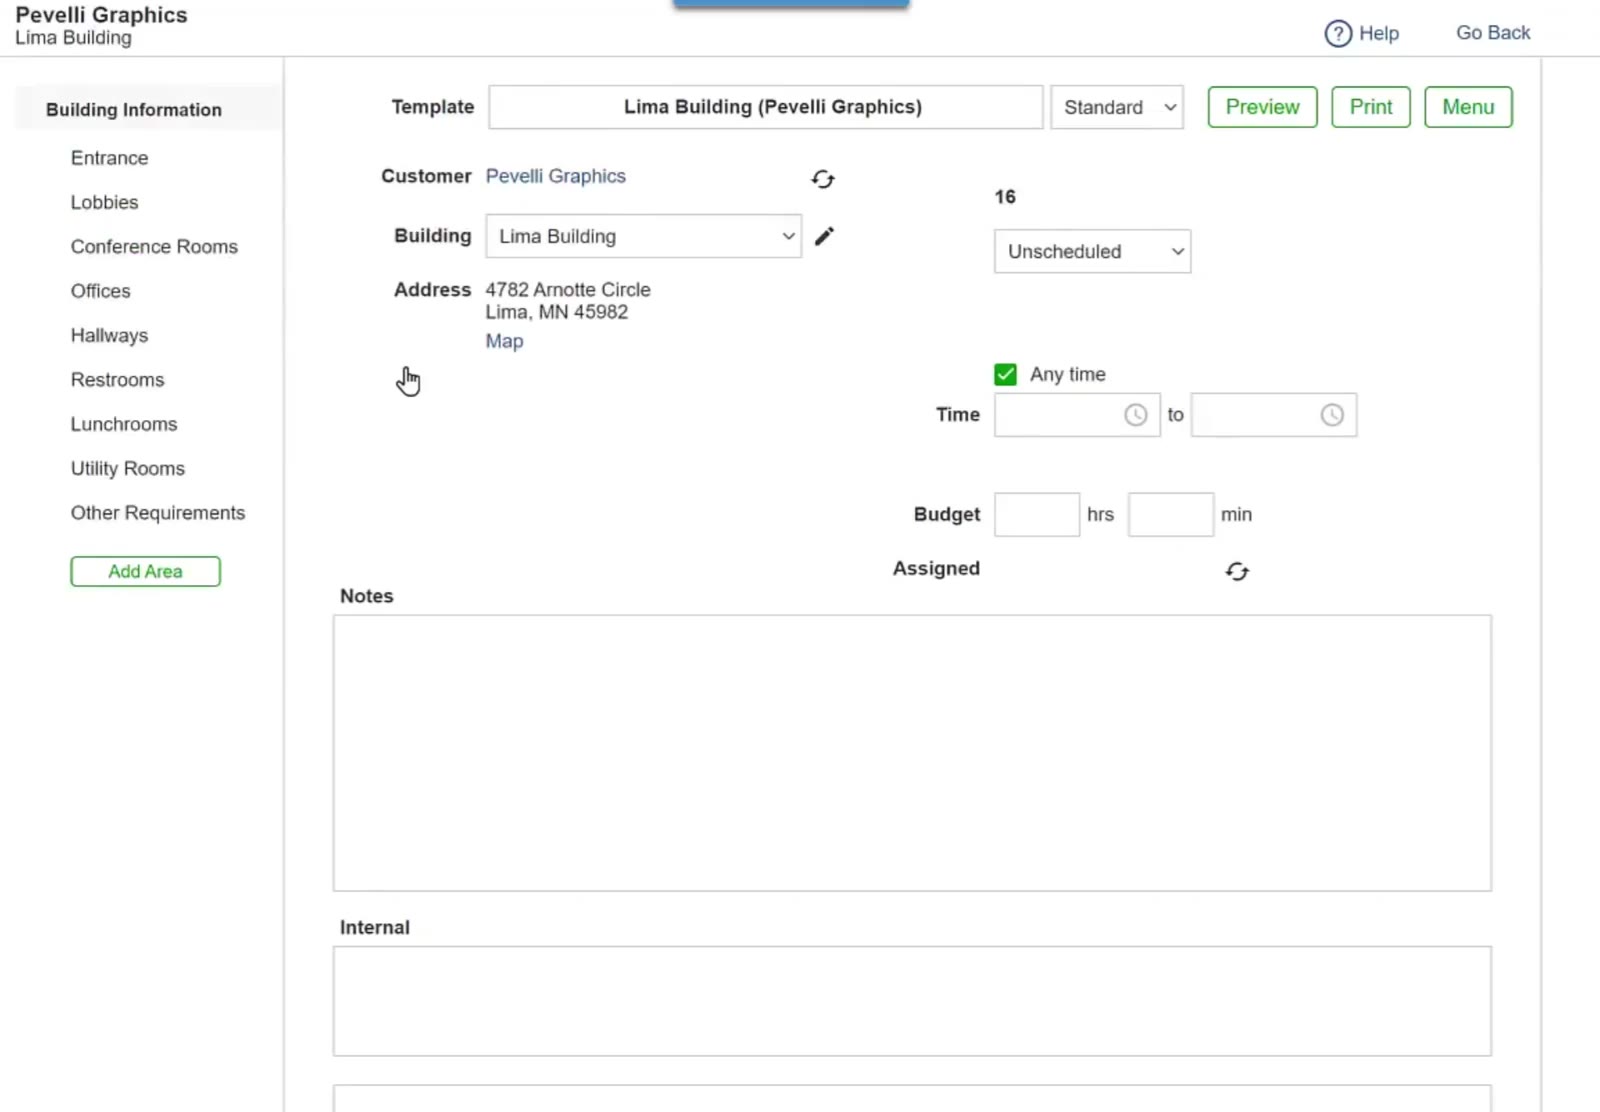
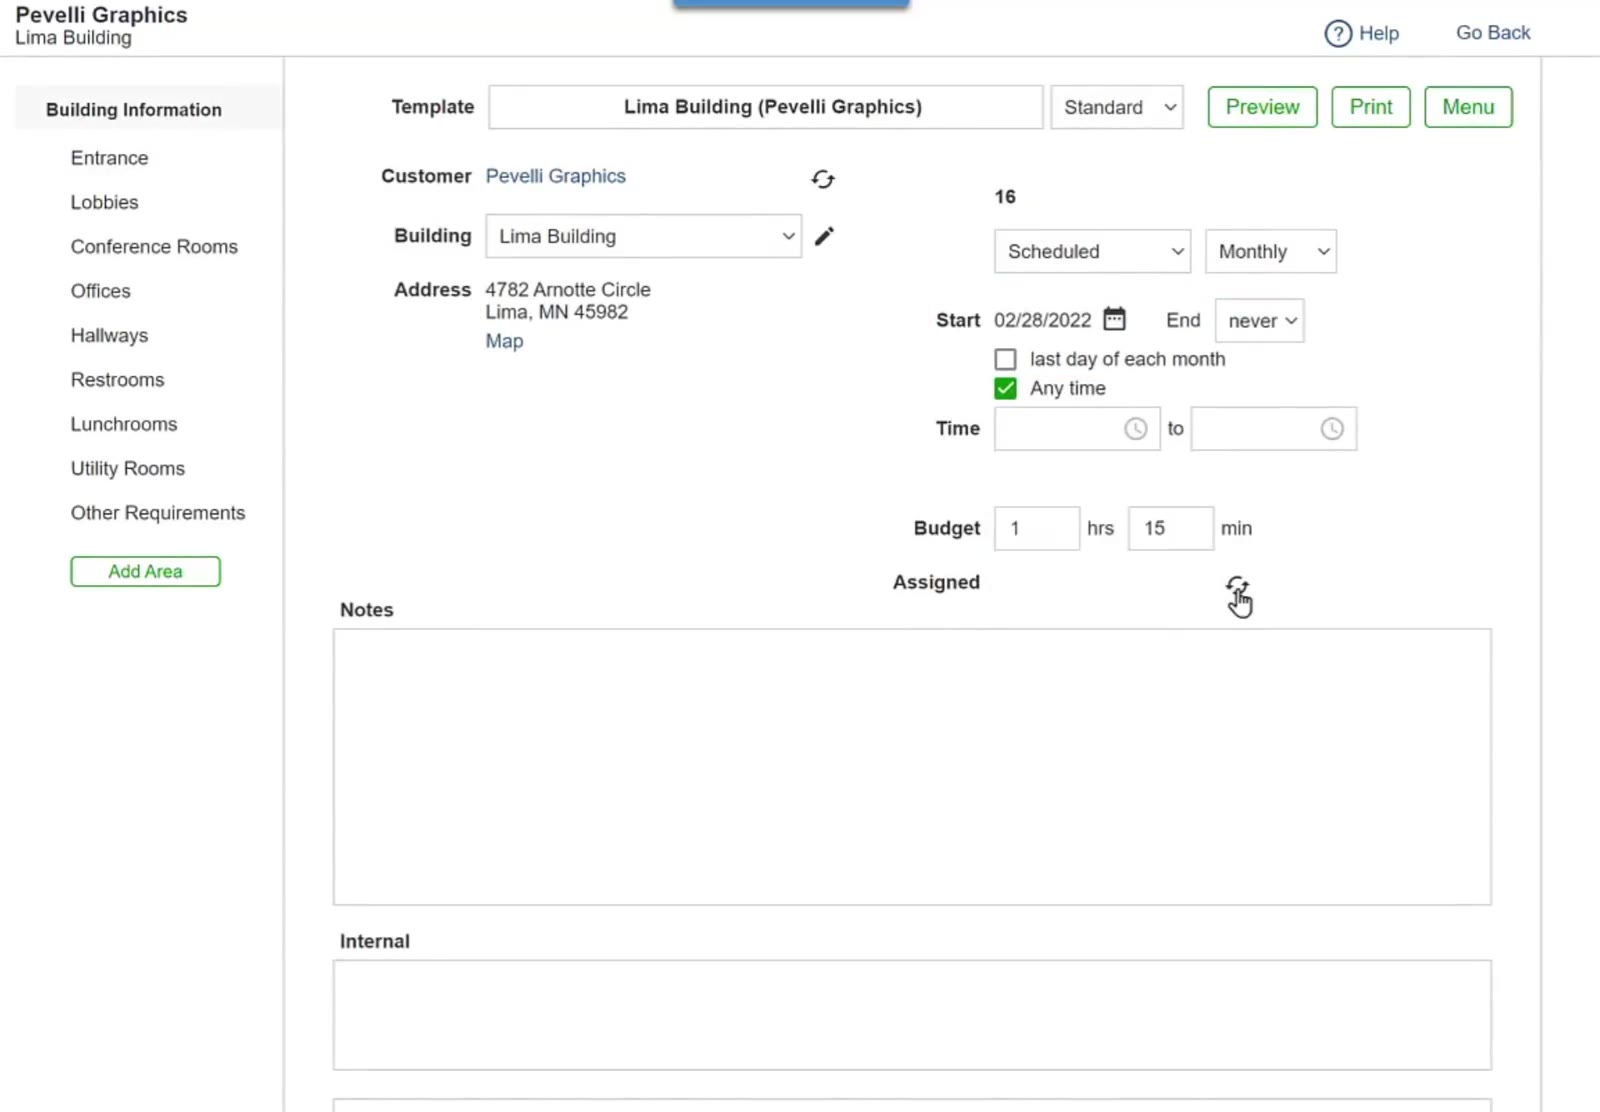
The template opens with a Building Information list down the left — one entry per area of the building, such as Entrance, Lobbies and Restrooms. Click an area to see the items that will be inspected there. Add Area at the bottom of the list adds one the bid did not cover.
Check the items in each area
Each area lists its inspection items with a Rating and a Weight. The green Add Item button above the list adds another one. Hover over an item to drag it into a different position, or to remove it with the red X that appears at the right of the row.
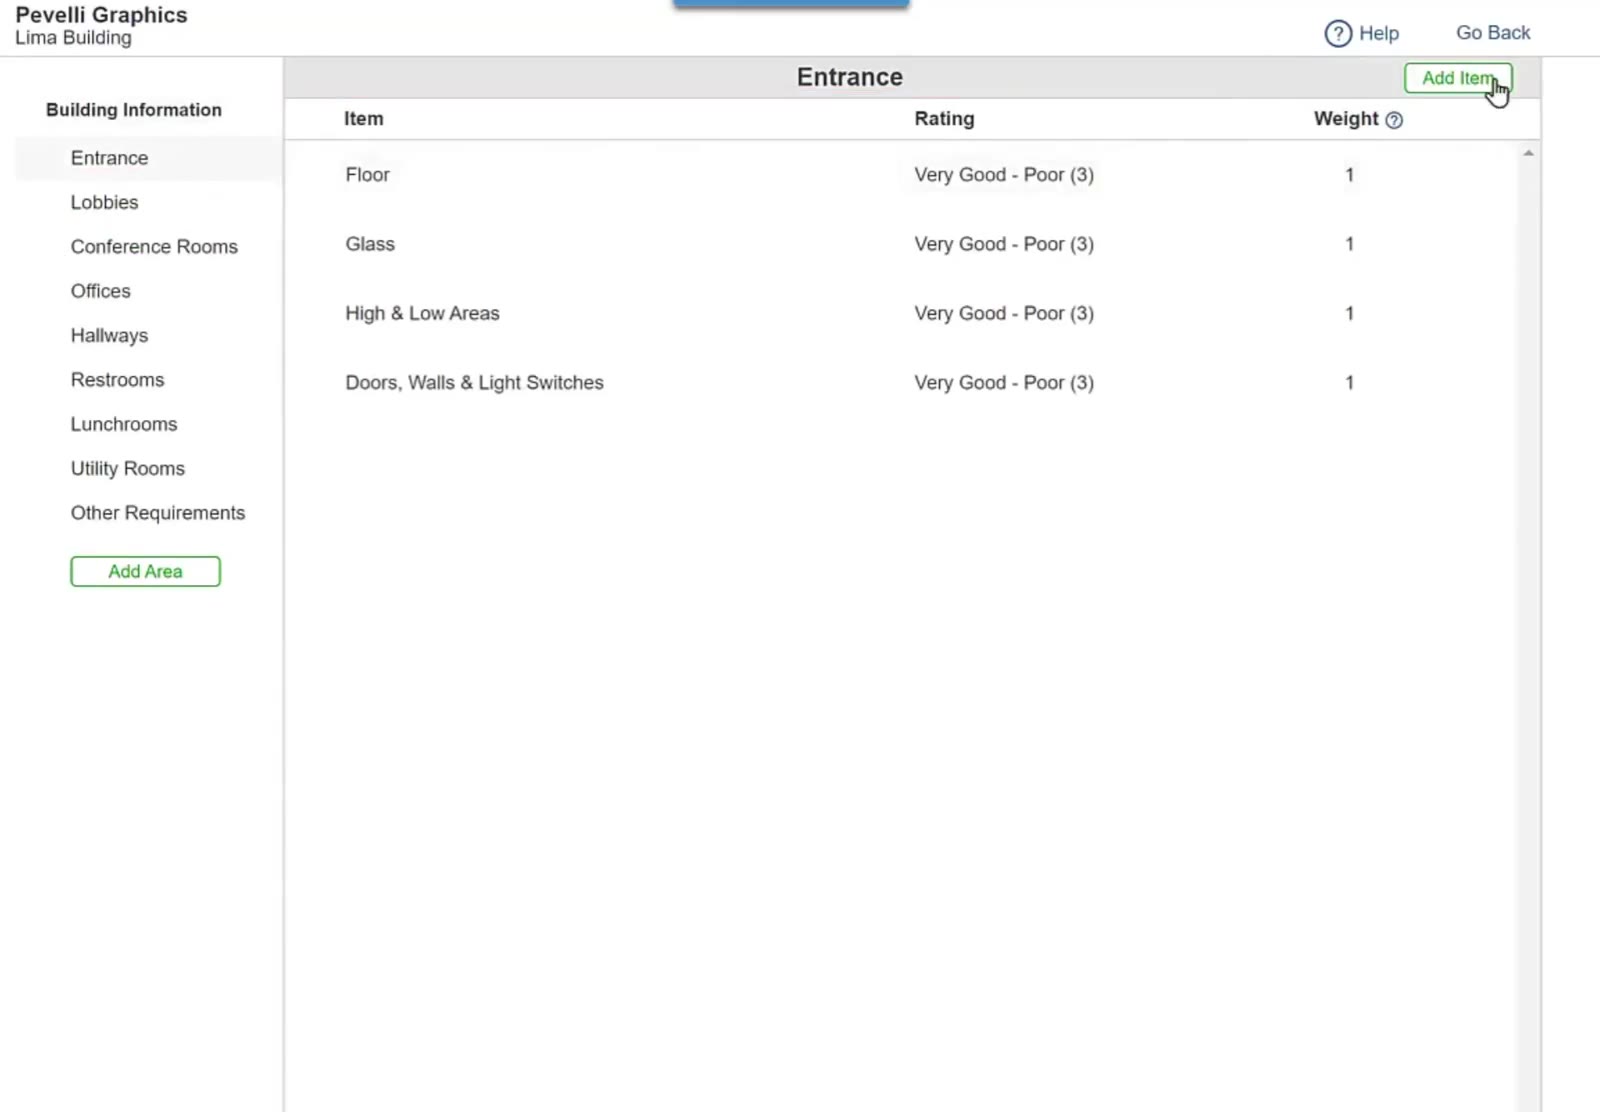
Weight decides how much an item counts towards the inspection score. An item at a weight of 5 counts five times as much as one at a weight of 1, so put the higher weights on the things that matter most.
Edit an item
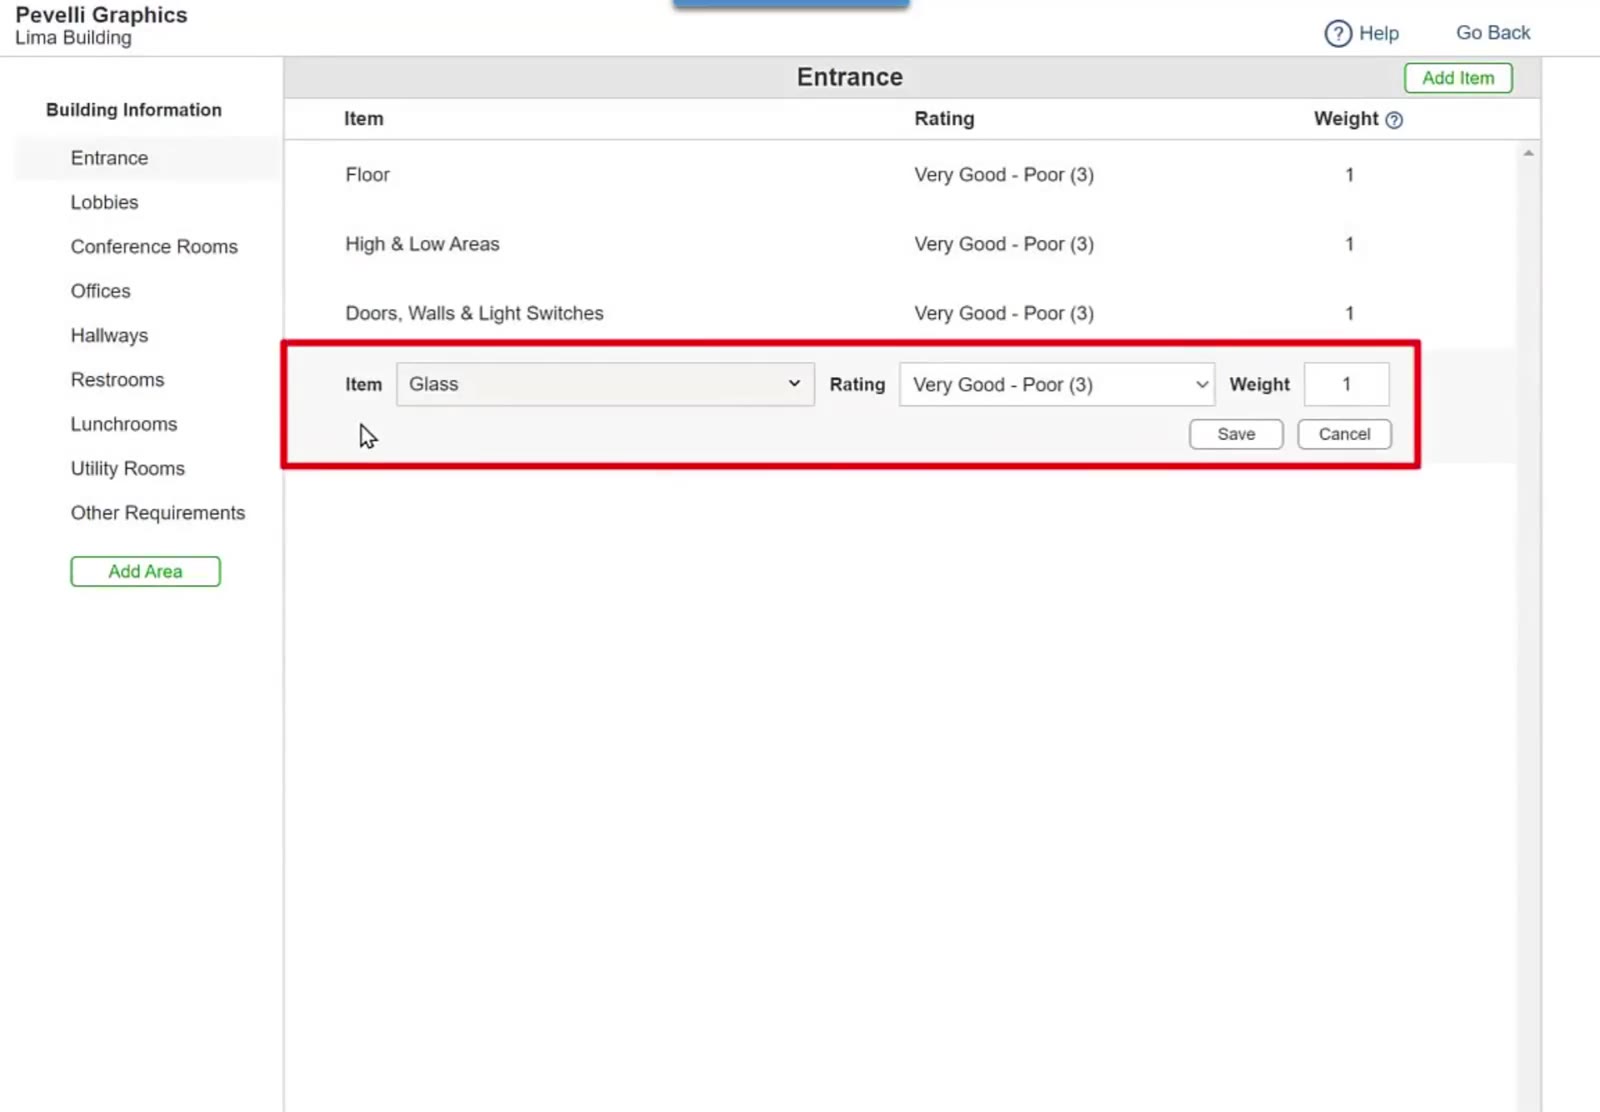
Click an item to open it. You can change the Item name, the Rating scale and the Weight, then click Save.
Set the Schedule
Turn the schedule on
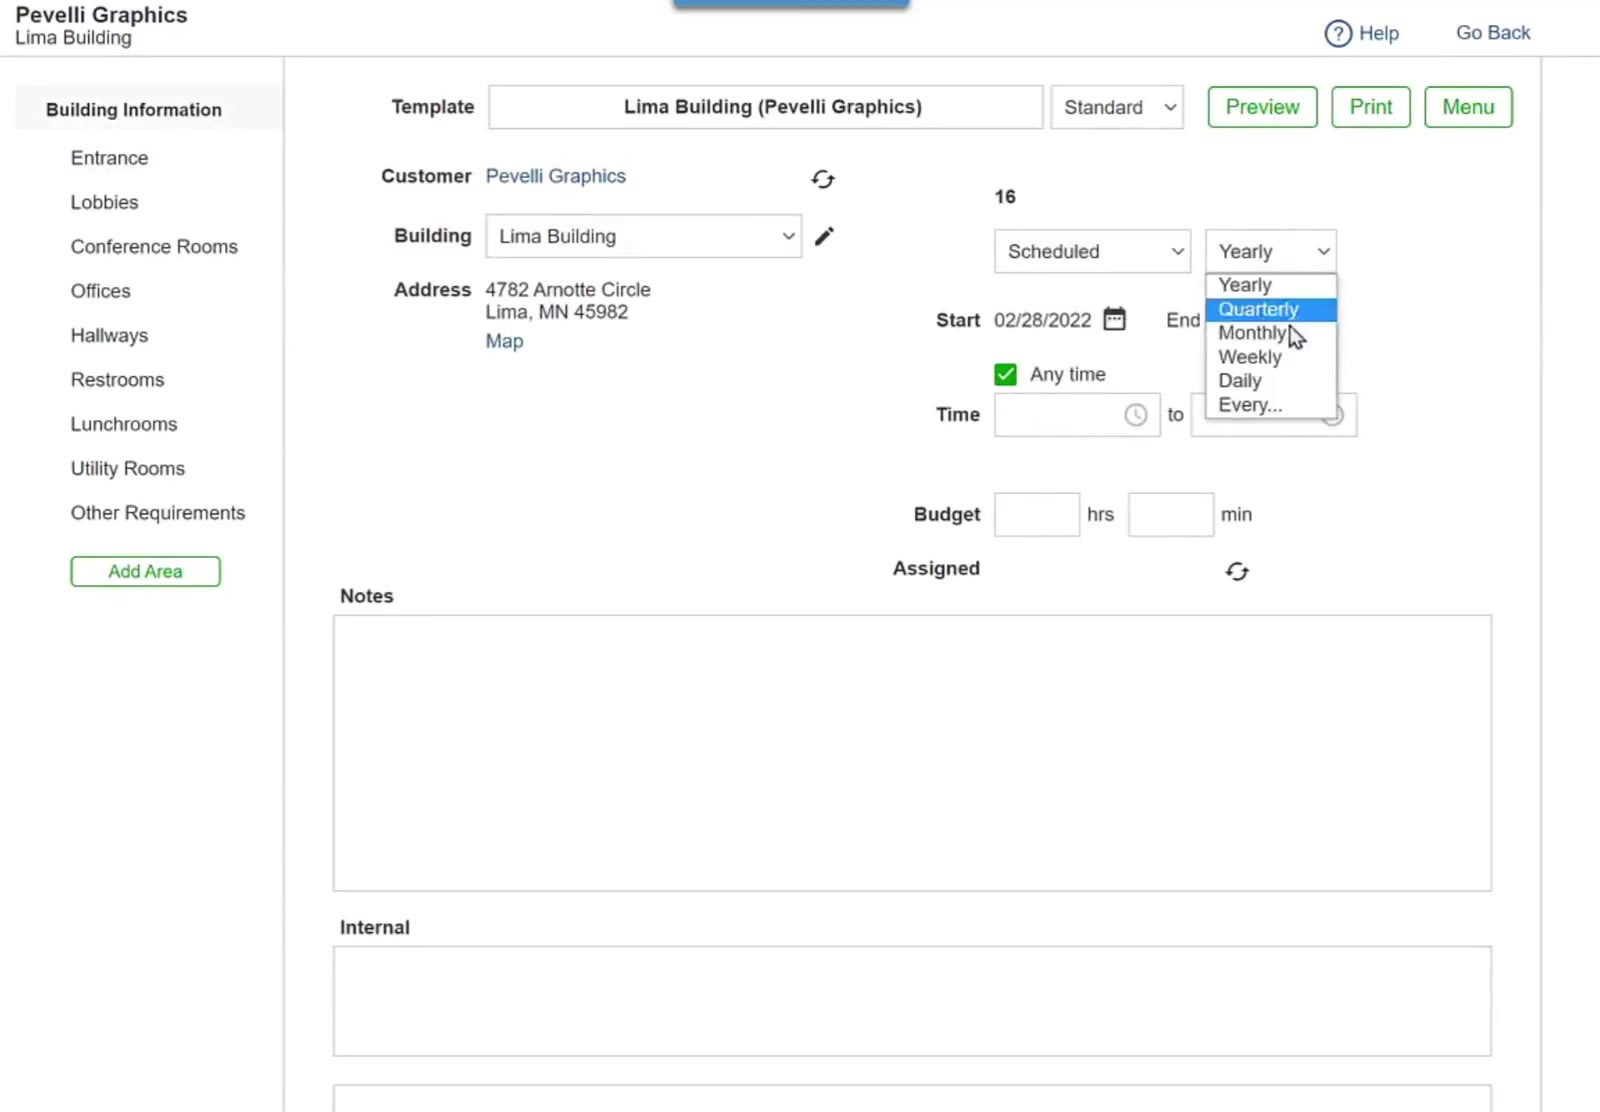
At the top of the template, change the dropdown that reads Unscheduled to Scheduled. Pick how often the inspections should happen, set a Start date, and set End if you want them to stop. There is also a last day of each month box for monthly inspections that should land at month end.
You do not have to put a template on a schedule. Leave it Unscheduled and it sits ready to use: a supervisor out in the field can create an inspection from it on the spot in the mobile app, whenever one is needed.
Set the time, budget and inspector
Leave Any time ticked, or untick it and use the Time boxes to set a window. Budget is the man-hours the inspection should take — 1 hrs 15 min means an inspector should spend an hour and a quarter on it. Then click Assign and tick the person who will do these inspections; their name then shows beside Assigned.
Create the inspections
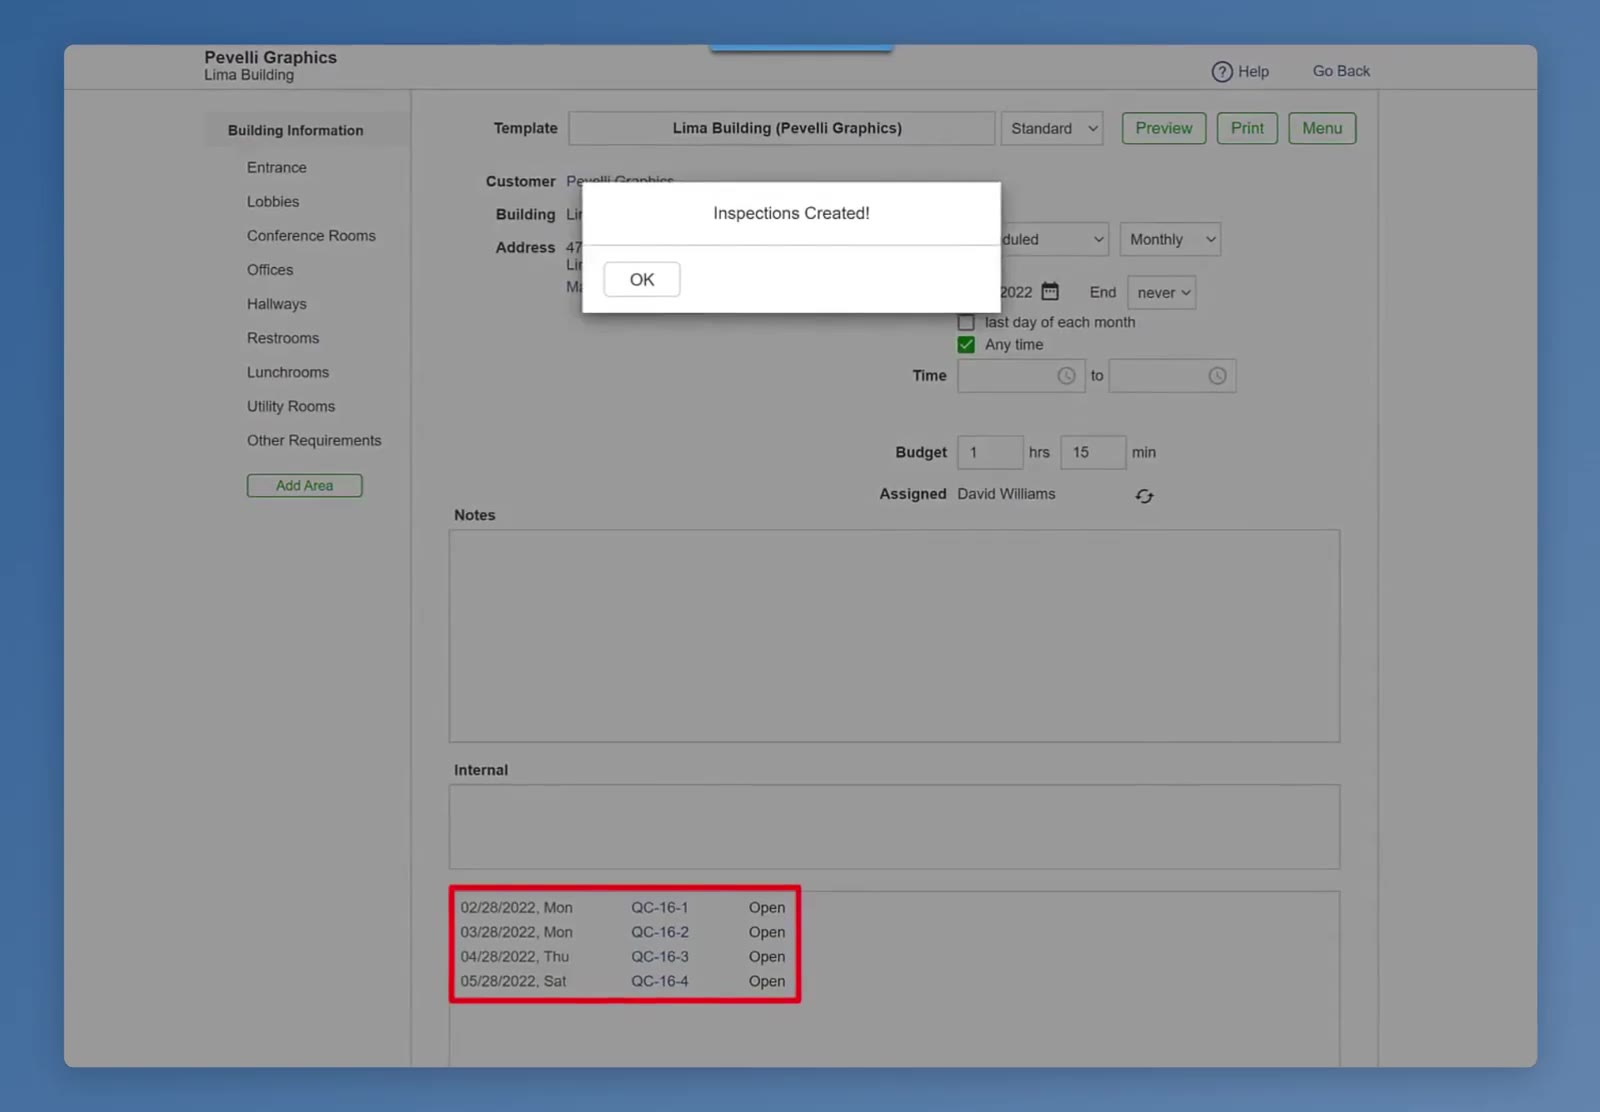
Check the template over, then click Save. CleanGuru says Inspections Created! — click OK.