Set Up Help article
Set Up User Access
User access decides what each of your people can see and do in CleanGuru. You set it on the employee’s own record, module by module, and you can limit them to particular buildings as well.
Open the Users List
Open Account
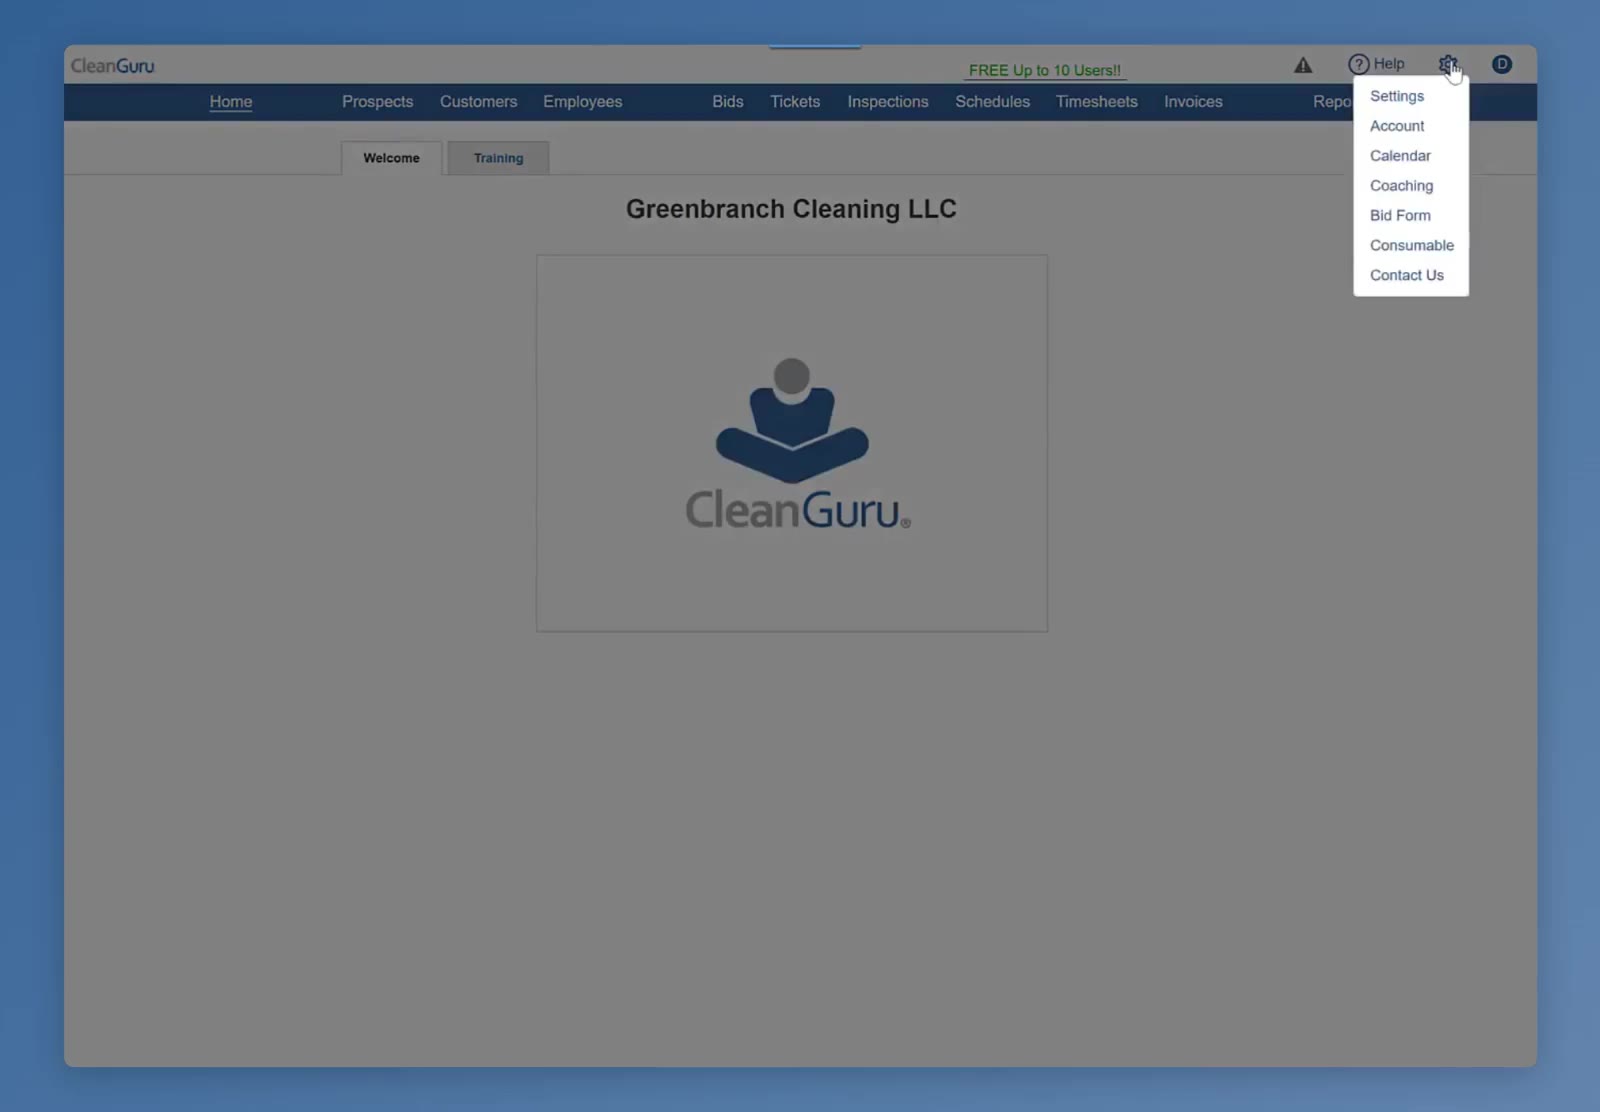
Click the gear icon at the top right and choose Account.
Go to the Users tab
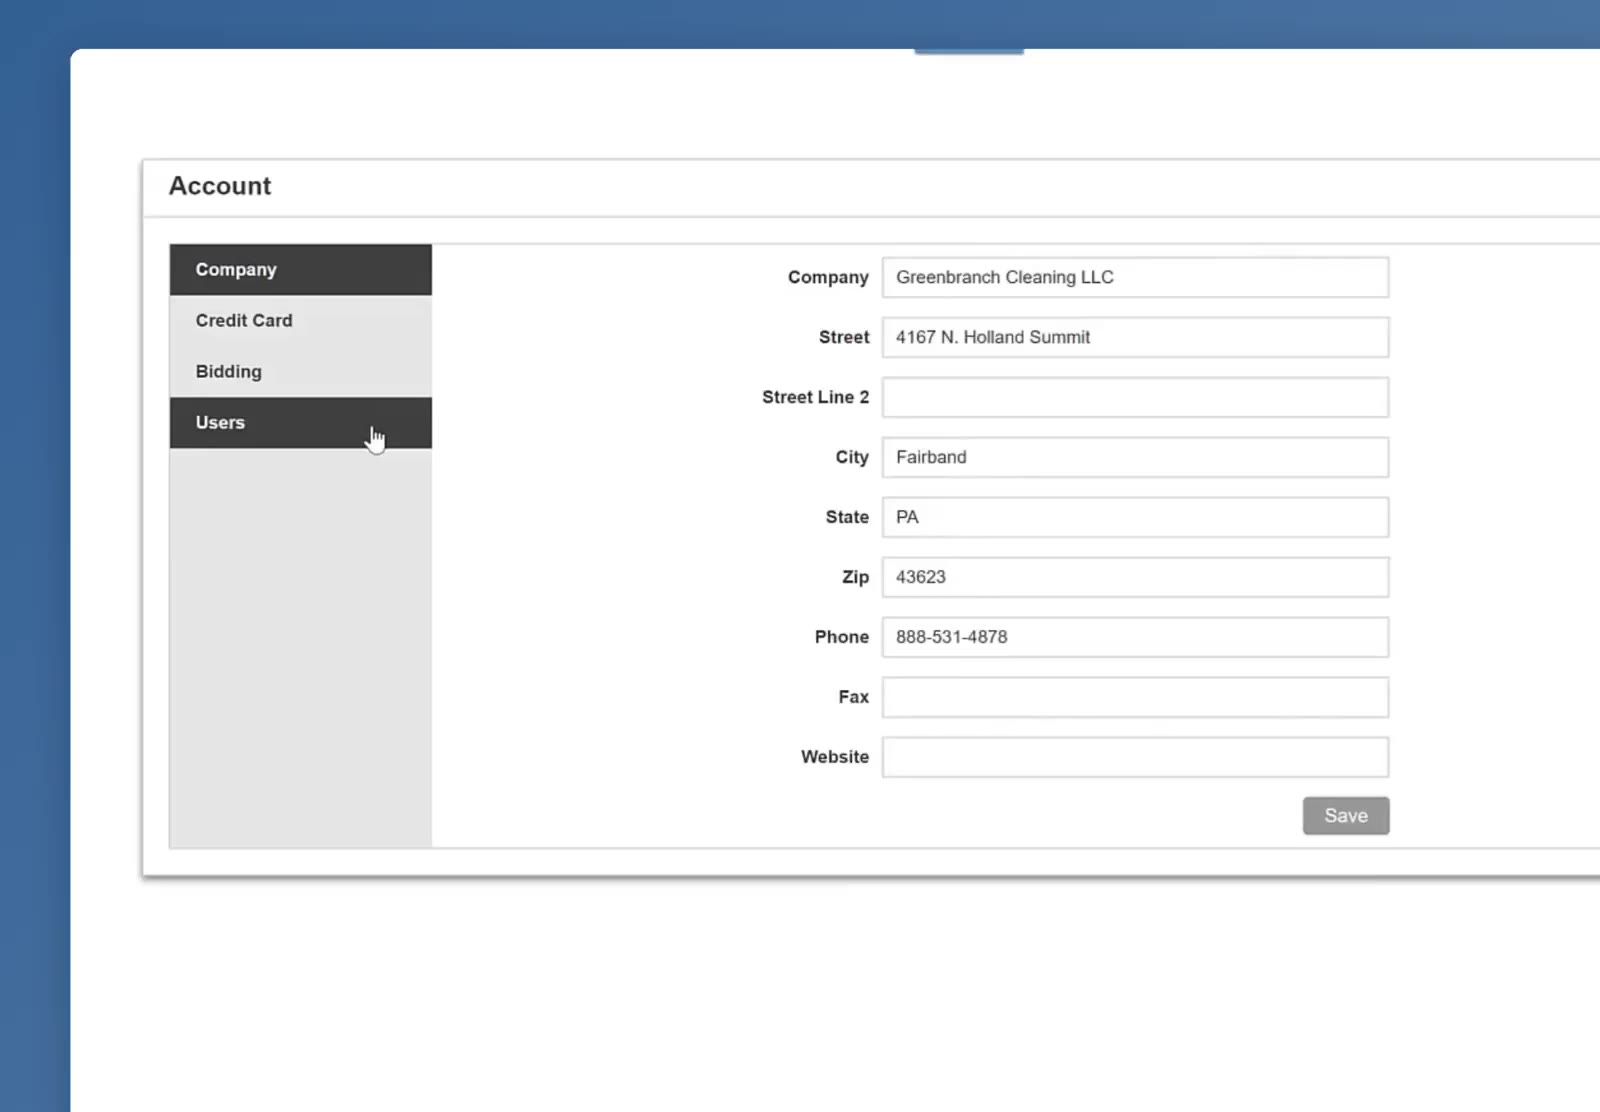
The Account window has Company, Credit Card, Billing and Users down the left. Click Users.
Pick the employee
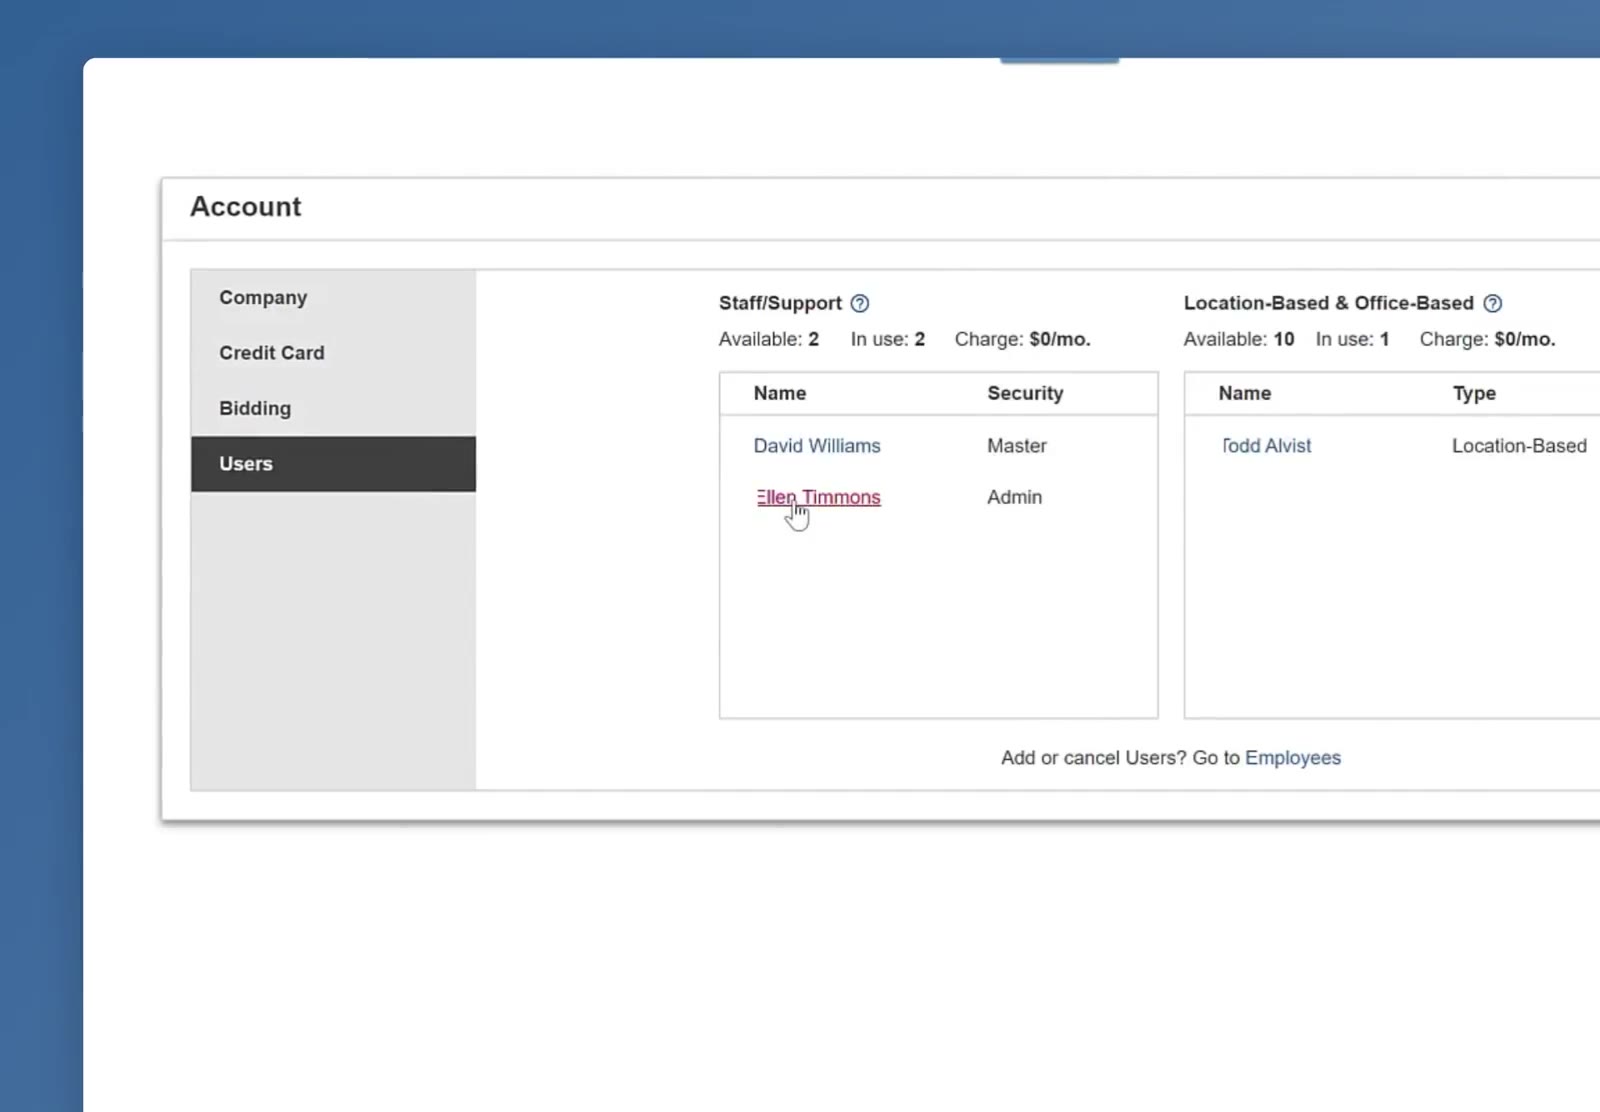
StaffSupport and Location-Based & Office-Based are listed separately, each showing how many user licenses you have and how many are in use. Click the name of the person you want to change.
Set What They Can See
Open the Access tab
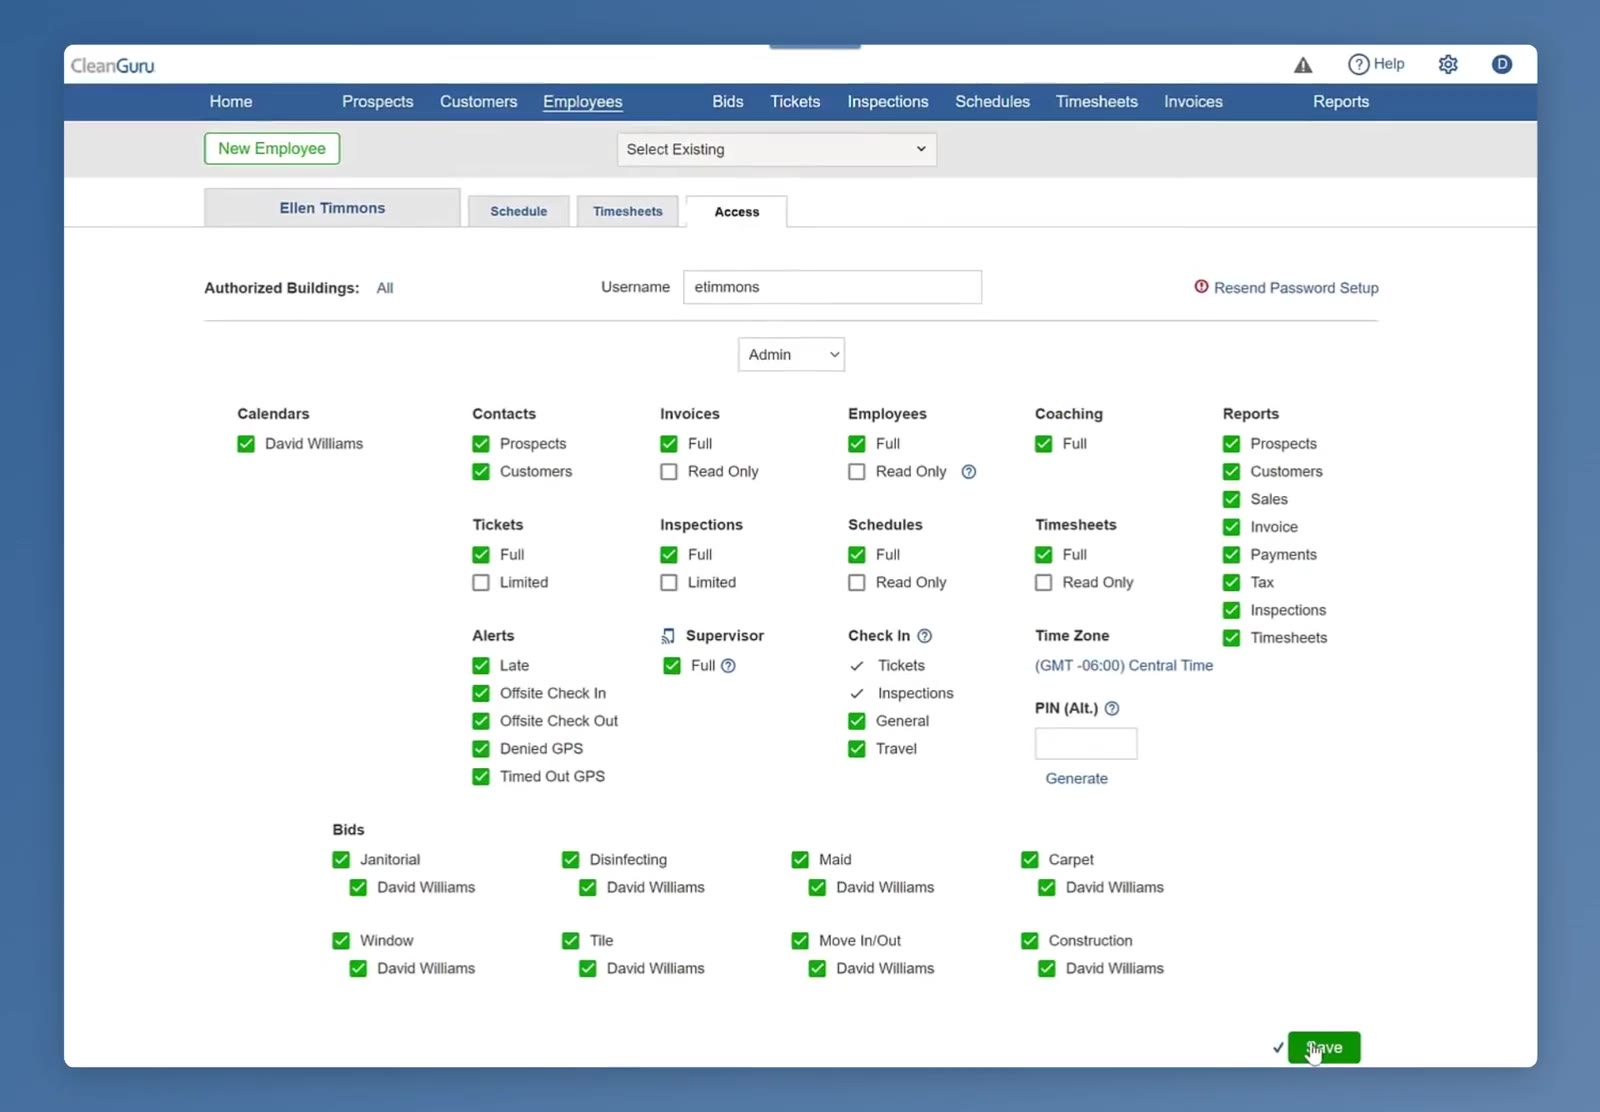
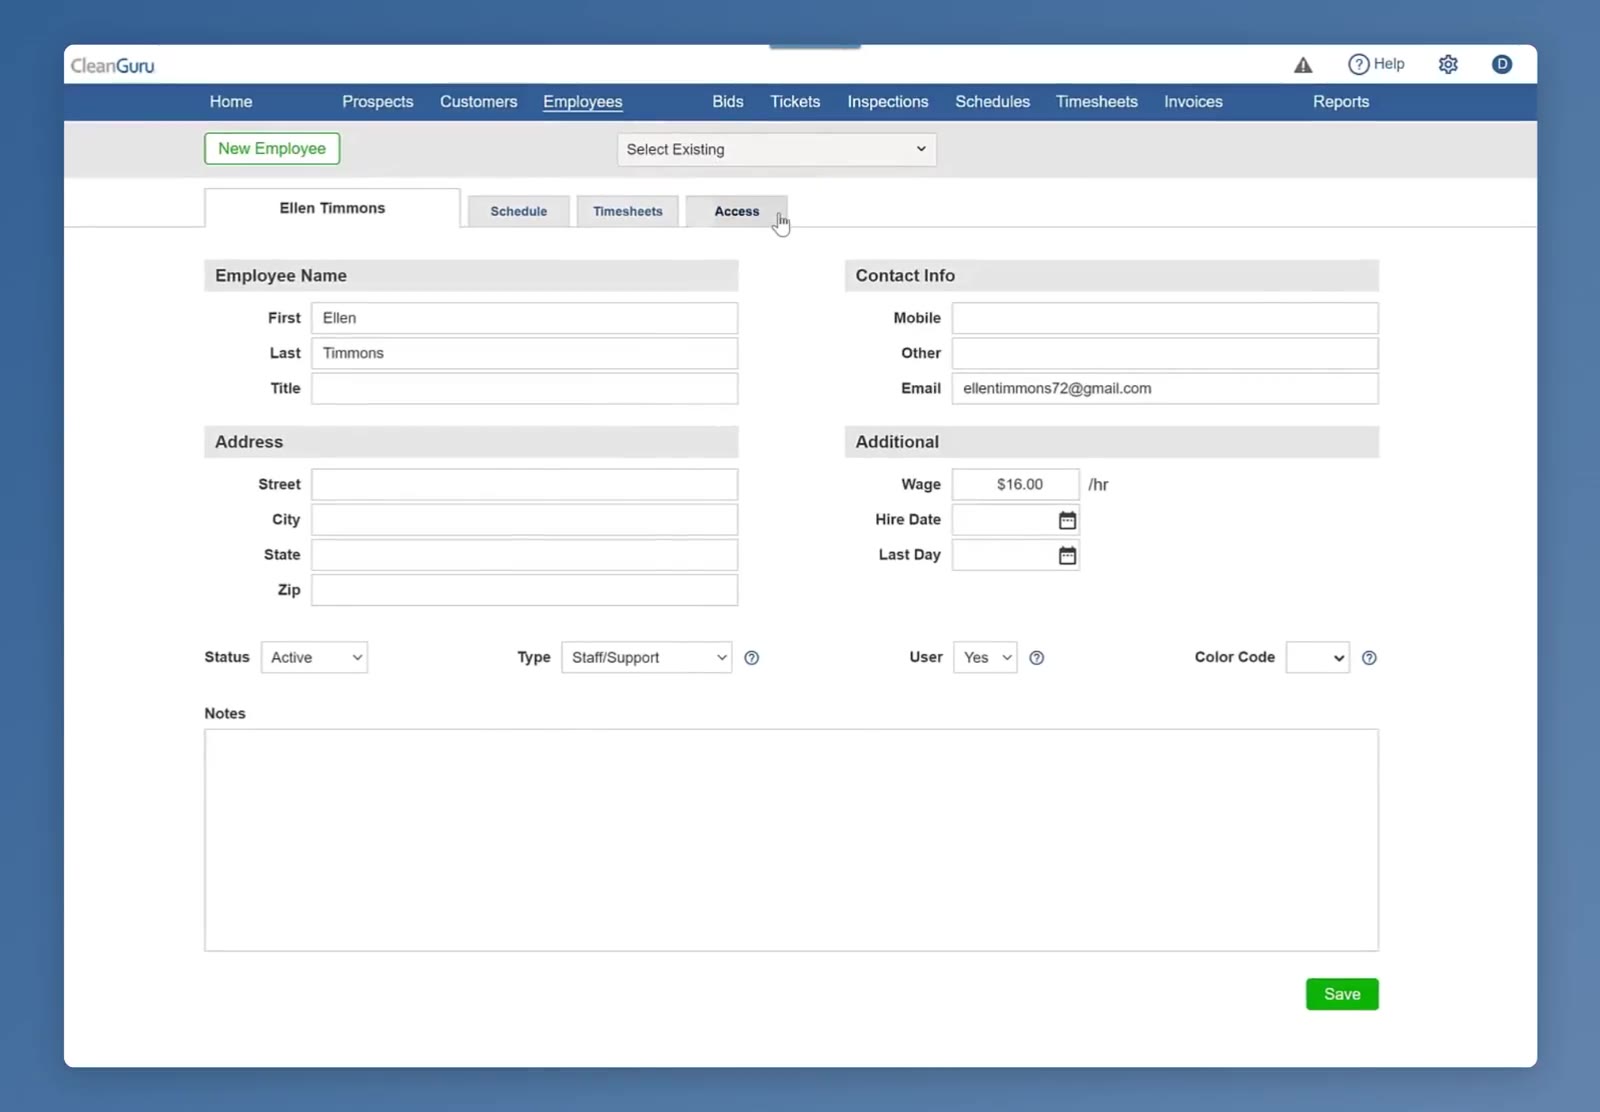
On that employee’s record, click Access — it sits alongside Schedule and Timesheets.
Set the level for each module
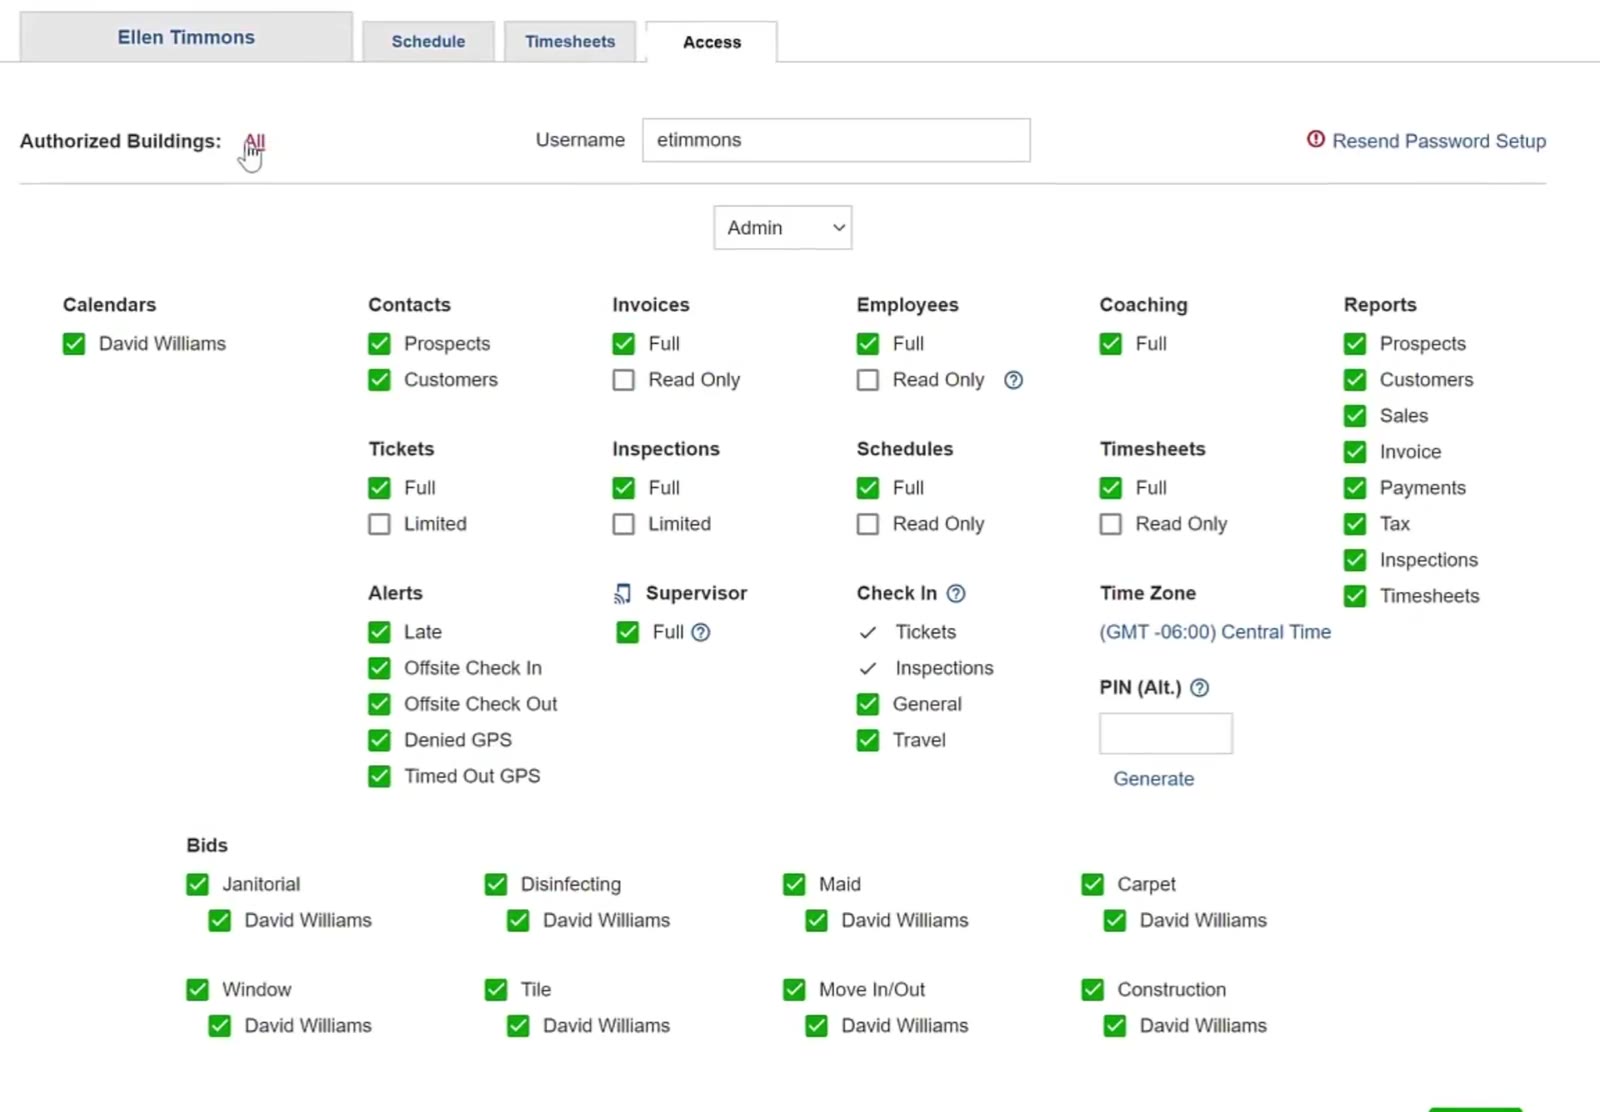
The grid covers every part of CleanGuru — Contacts, Invoices, Employees, Coaching, Reports, Tickets, Inspections, Schedules, Timesheets, Alerts, Supervisor and Check In. Most offer Full or Read Only. Some offer Limited instead, and the ? beside it spells out exactly what that allows — on Tickets, Limited lets someone complete a ticket and add notes and pictures, but not change, reassign or delete it.
Use Read Only for people who need to look at schedules or reports but should not be changing billing or payroll.
Say which bidding modules they can use
The Bids block at the bottom has a line for each module — Janitorial, Disinfecting, Maid, Carpet, Window, Tile, Move In/Out and Construction. The top box says whether this person can use that module at all. The name underneath says whose bids they can also see: tick someone there and this person sees their own bids plus that person’s.
Limit them to certain buildings
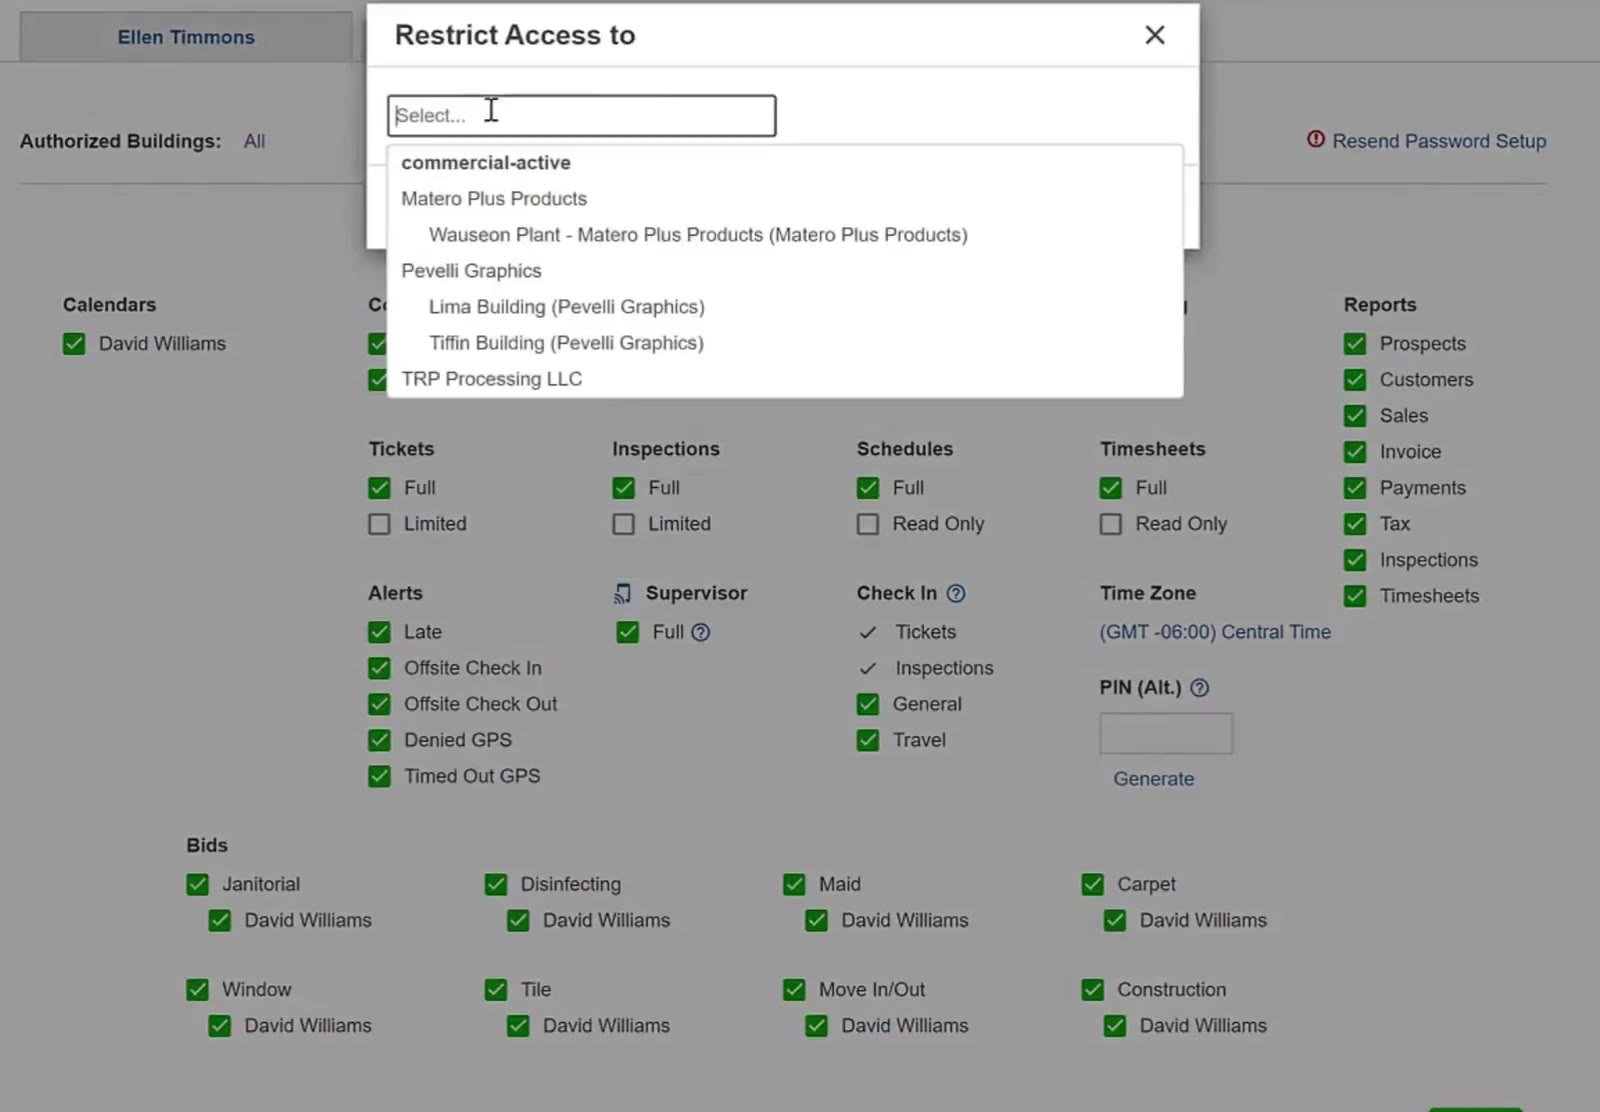
Authorized Buildings starts at All. Click it and the Restrict Access to box opens, listing your customers with their buildings underneath. Pick the ones this person should see.
Set the security role
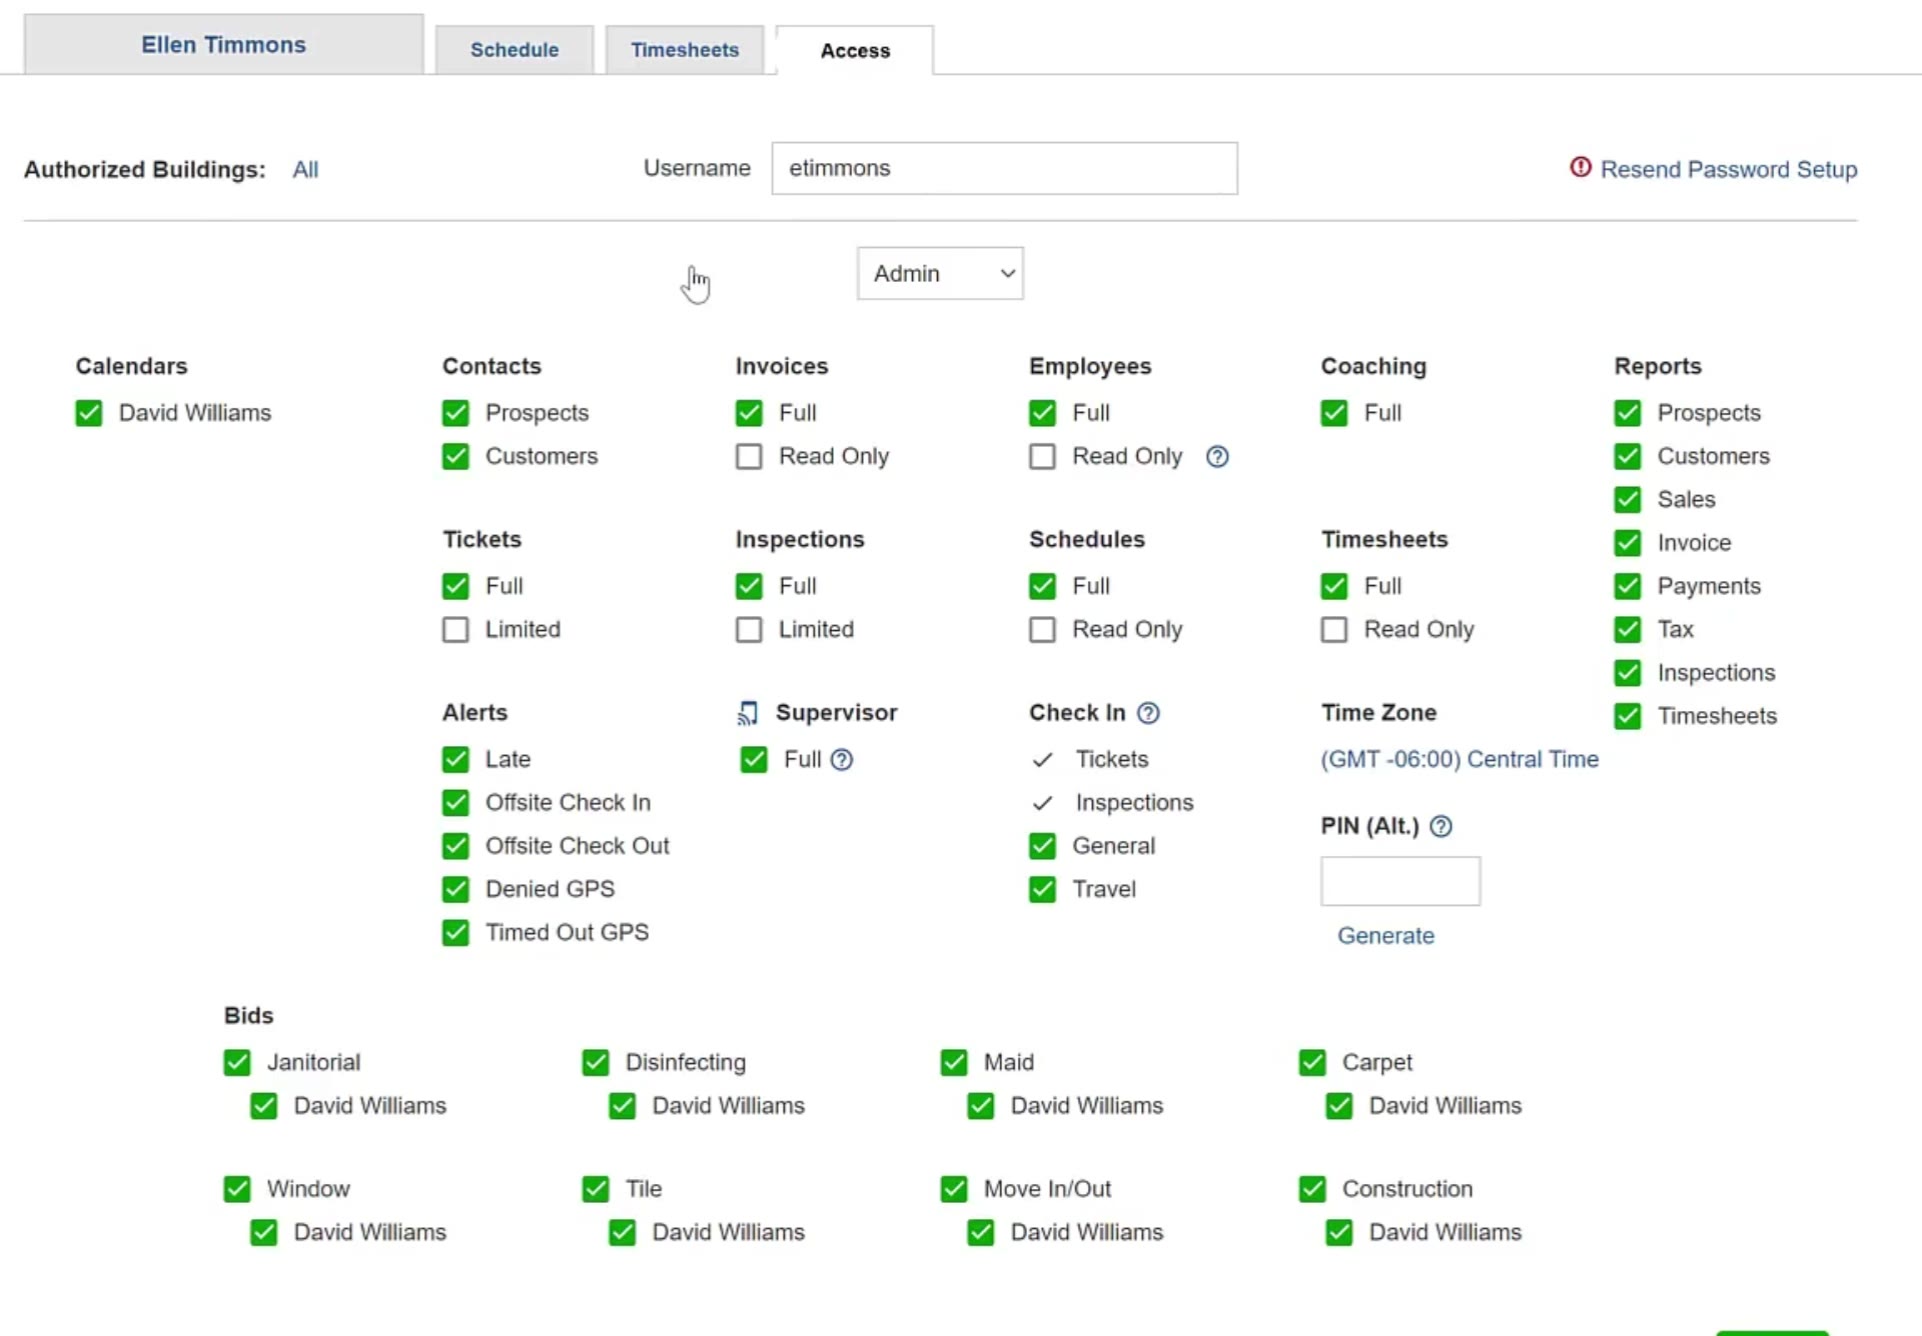
The dropdown under the username sets the role. Master is the account owner — usually whoever bought the plan — and has access to everything. Admin has all the same access, except they cannot change or cancel the plan.
Save It
Save the changes
Scroll to the bottom of the Access tab and click the green Save.